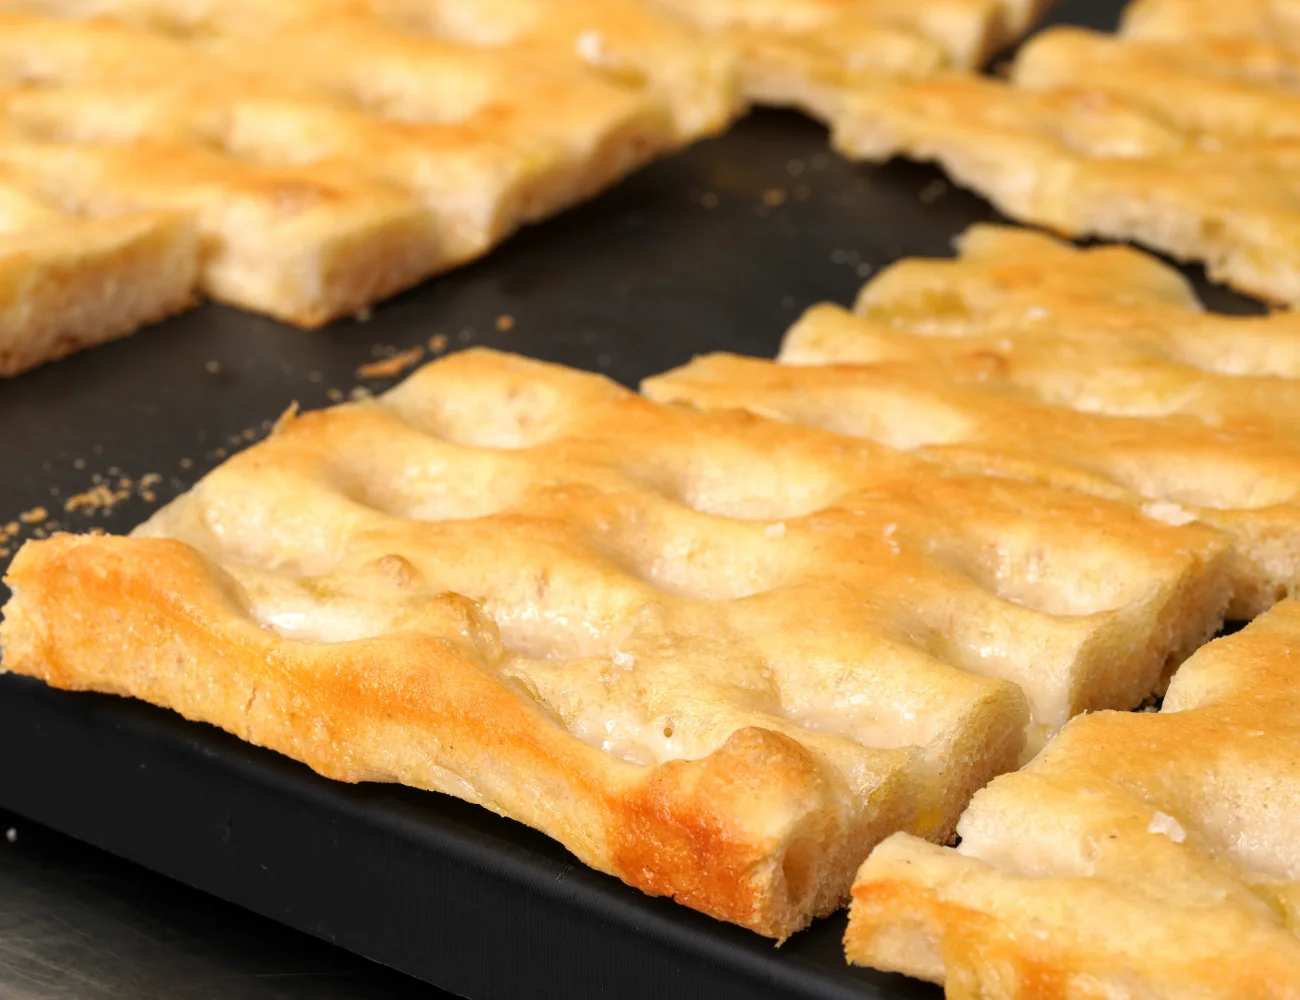
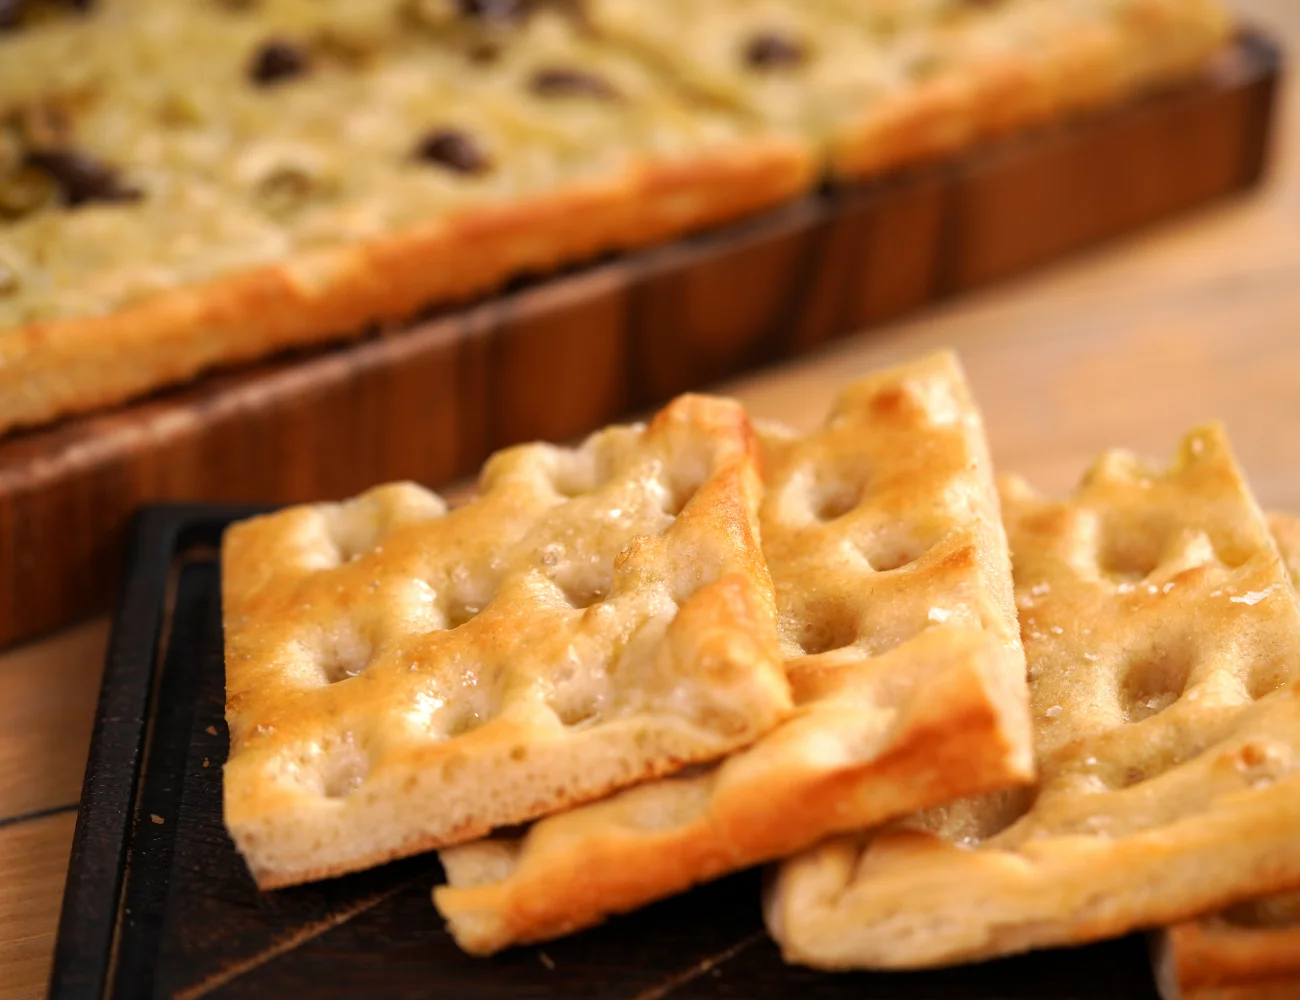
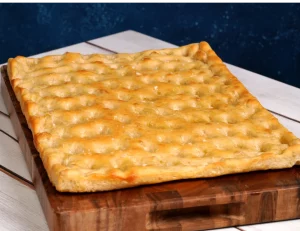
There are many focaccia recipes in Italy, but this authentic Focaccia Genovese recipe is probably the most famous! This focaccia recipe is traditional in the city of Genoa in the Liguria region of Italy. It is a short, soft bread and has those lovely fingerprint indents which are produced in a unique way! Keep reading to learn how to make this famous Italian bread recipe or skip to the recipe card at the bottom of this page.
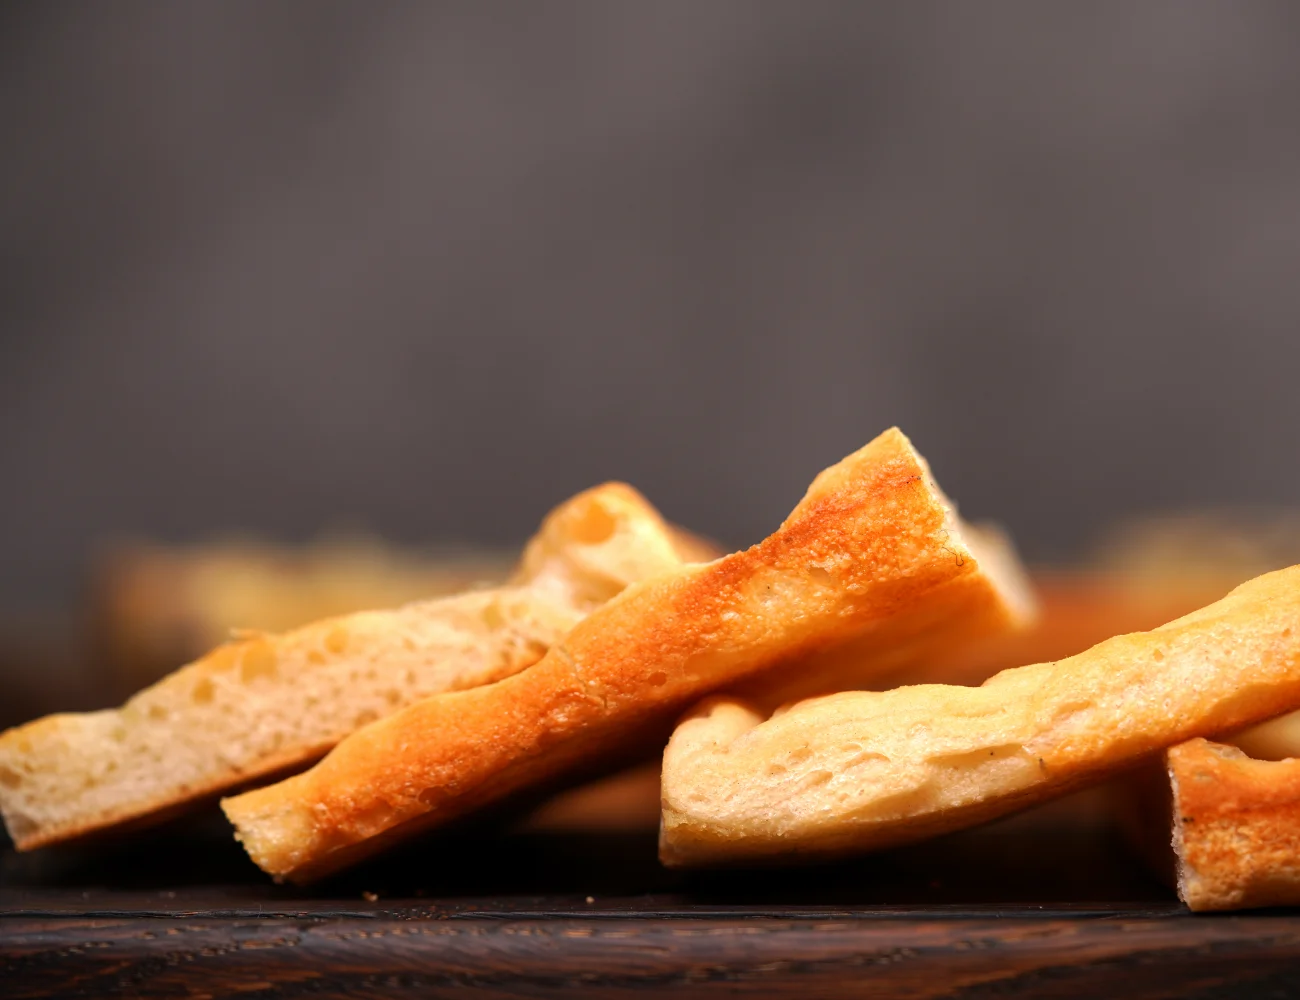
Fun fact: In Liguria, Focaccia Genovese is often eaten for breakfast, where many people dip it in their cappuccino or milk. When enjoyed as an appetizer, Focaccia Genovese is often served with a small glass of white wine.
Watch the Video Recipe!
The video recipe for Focaccia Genovese !
Subscribe to our YouTube Channel
More video recipes? Subscribe to our YouTube Channel (it’s FREE) and click the bell to get notifications when we release a new video recipe!
In Italian? Focaccia Genovese Ricetta Originale
Focaccia Genovese Recipe: Ingredients
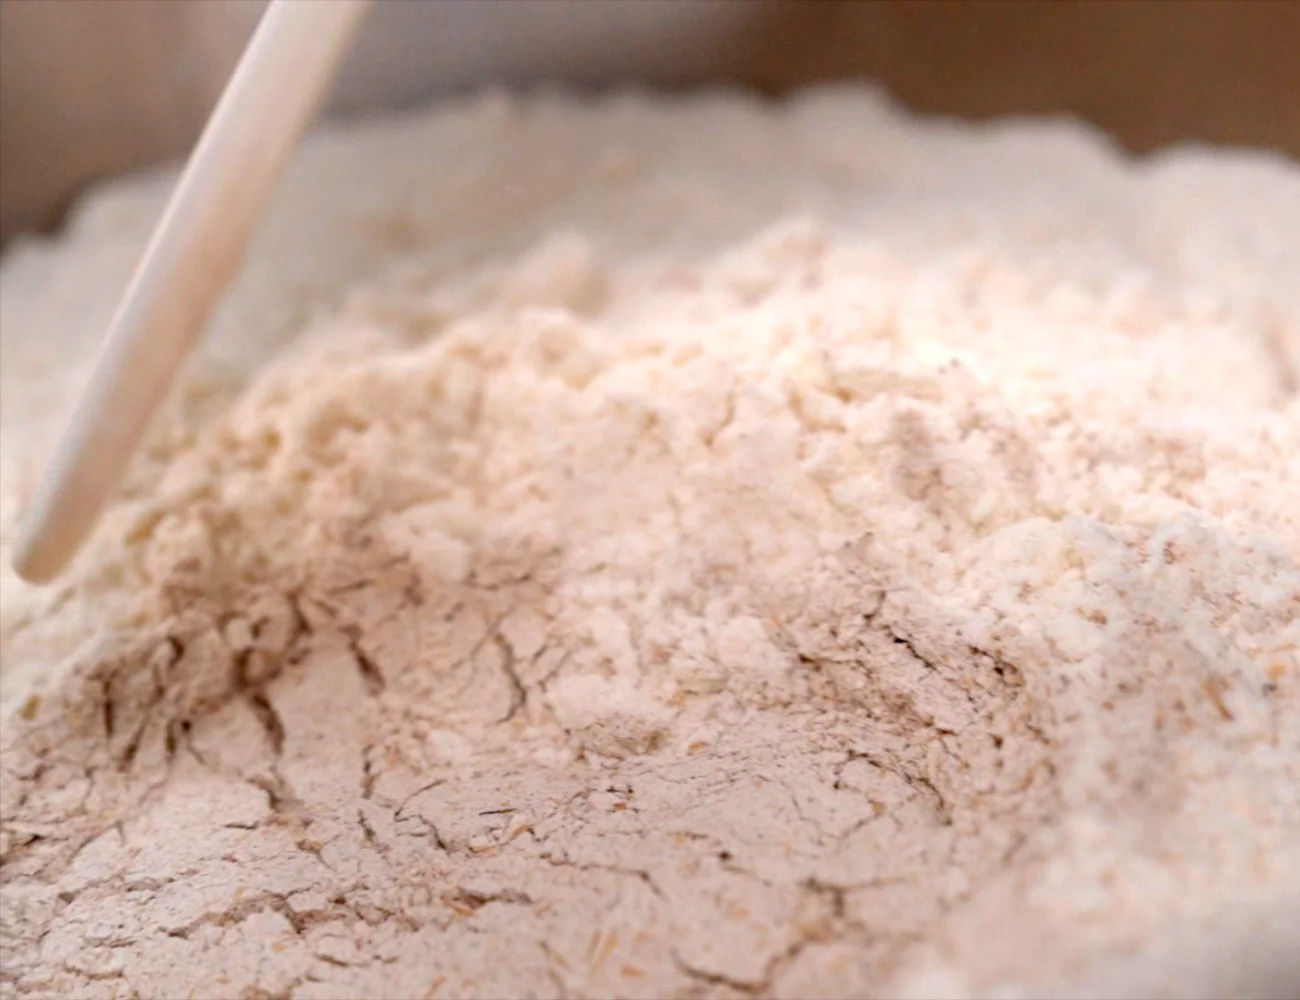
Choosing Flour for this Focaccia Recipe
There really is a difference between bread flours and other types of flour (such as cake or all-purpose). For the traditional Focaccia Genovese recipe, we use a ’00’ flour with a W 320 (‘W’ refers to the strength of the flour). So, a strong flour for pizza or bread.
We use ‘Cuoco’ (Chef) (affiliate link).
Yeast and Malt
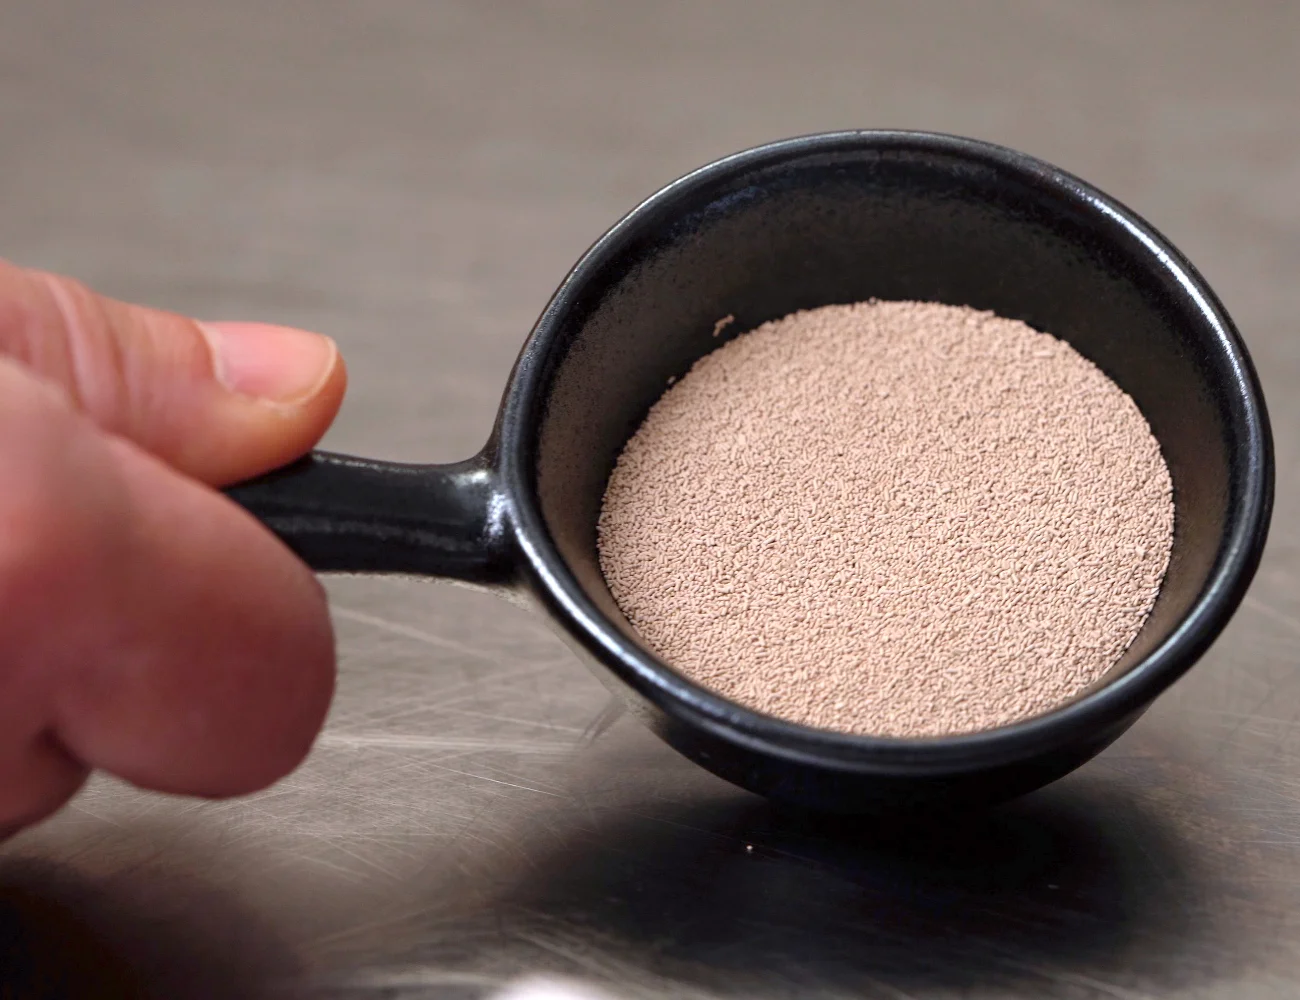
Use dry active yeast for this recipe. We usually use this yeast, an Italian brand available abroad. That means that you can add the yeast directly to the flour and do not need to proof it in warm water before hand. You’ll need 6 g of active dry yeast for dough rising in a temperature of 73° F (23° C).
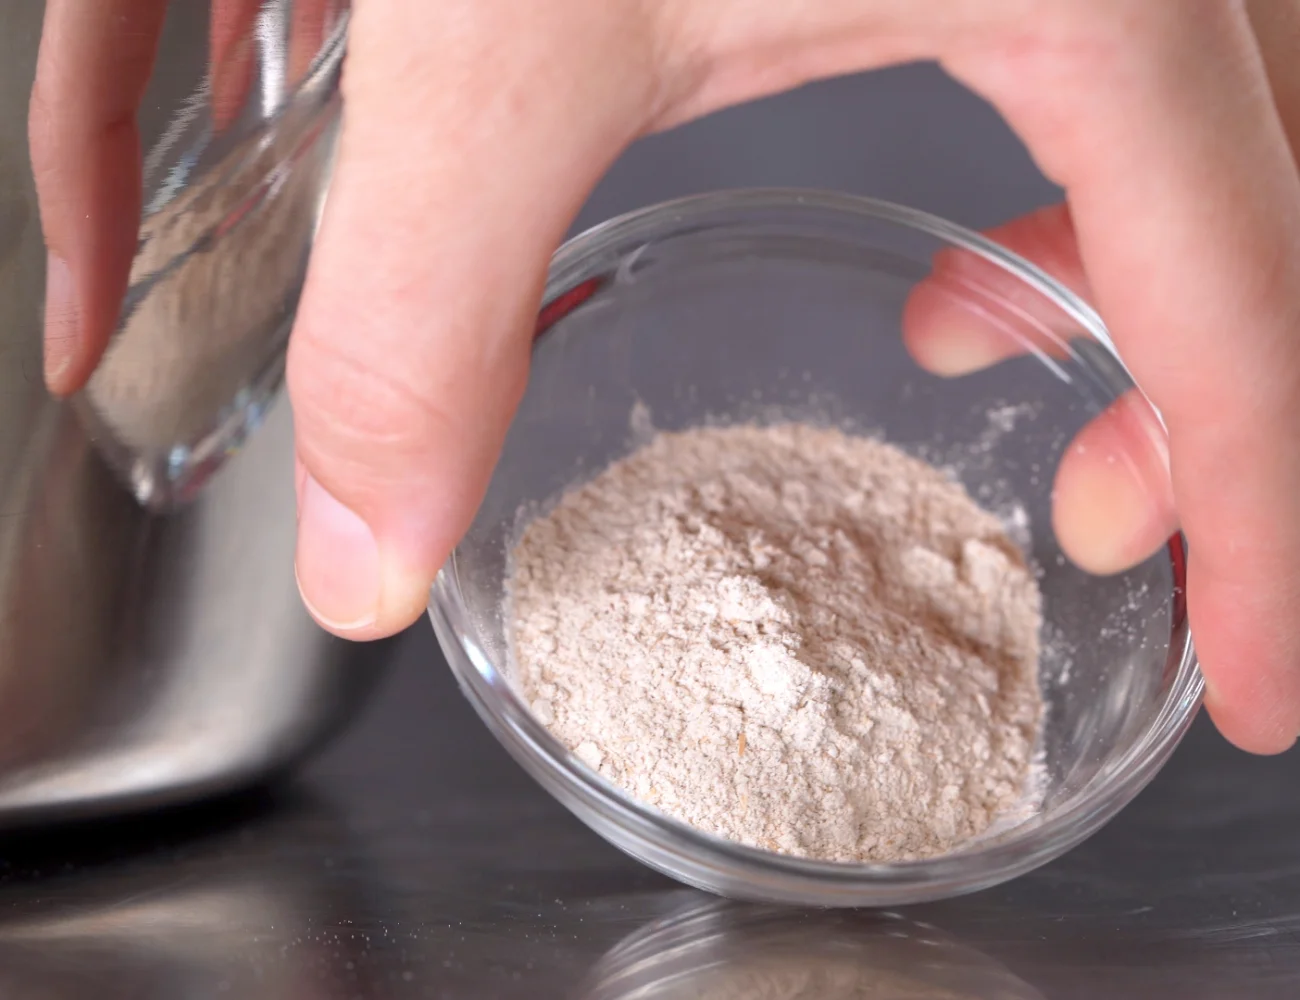
Malt is a traditional ingredient in this Italian bread recipe. You can use liquid or dry malt. Use 30 g of liquid malt or 15 g of dry malt. We use the dry variety.
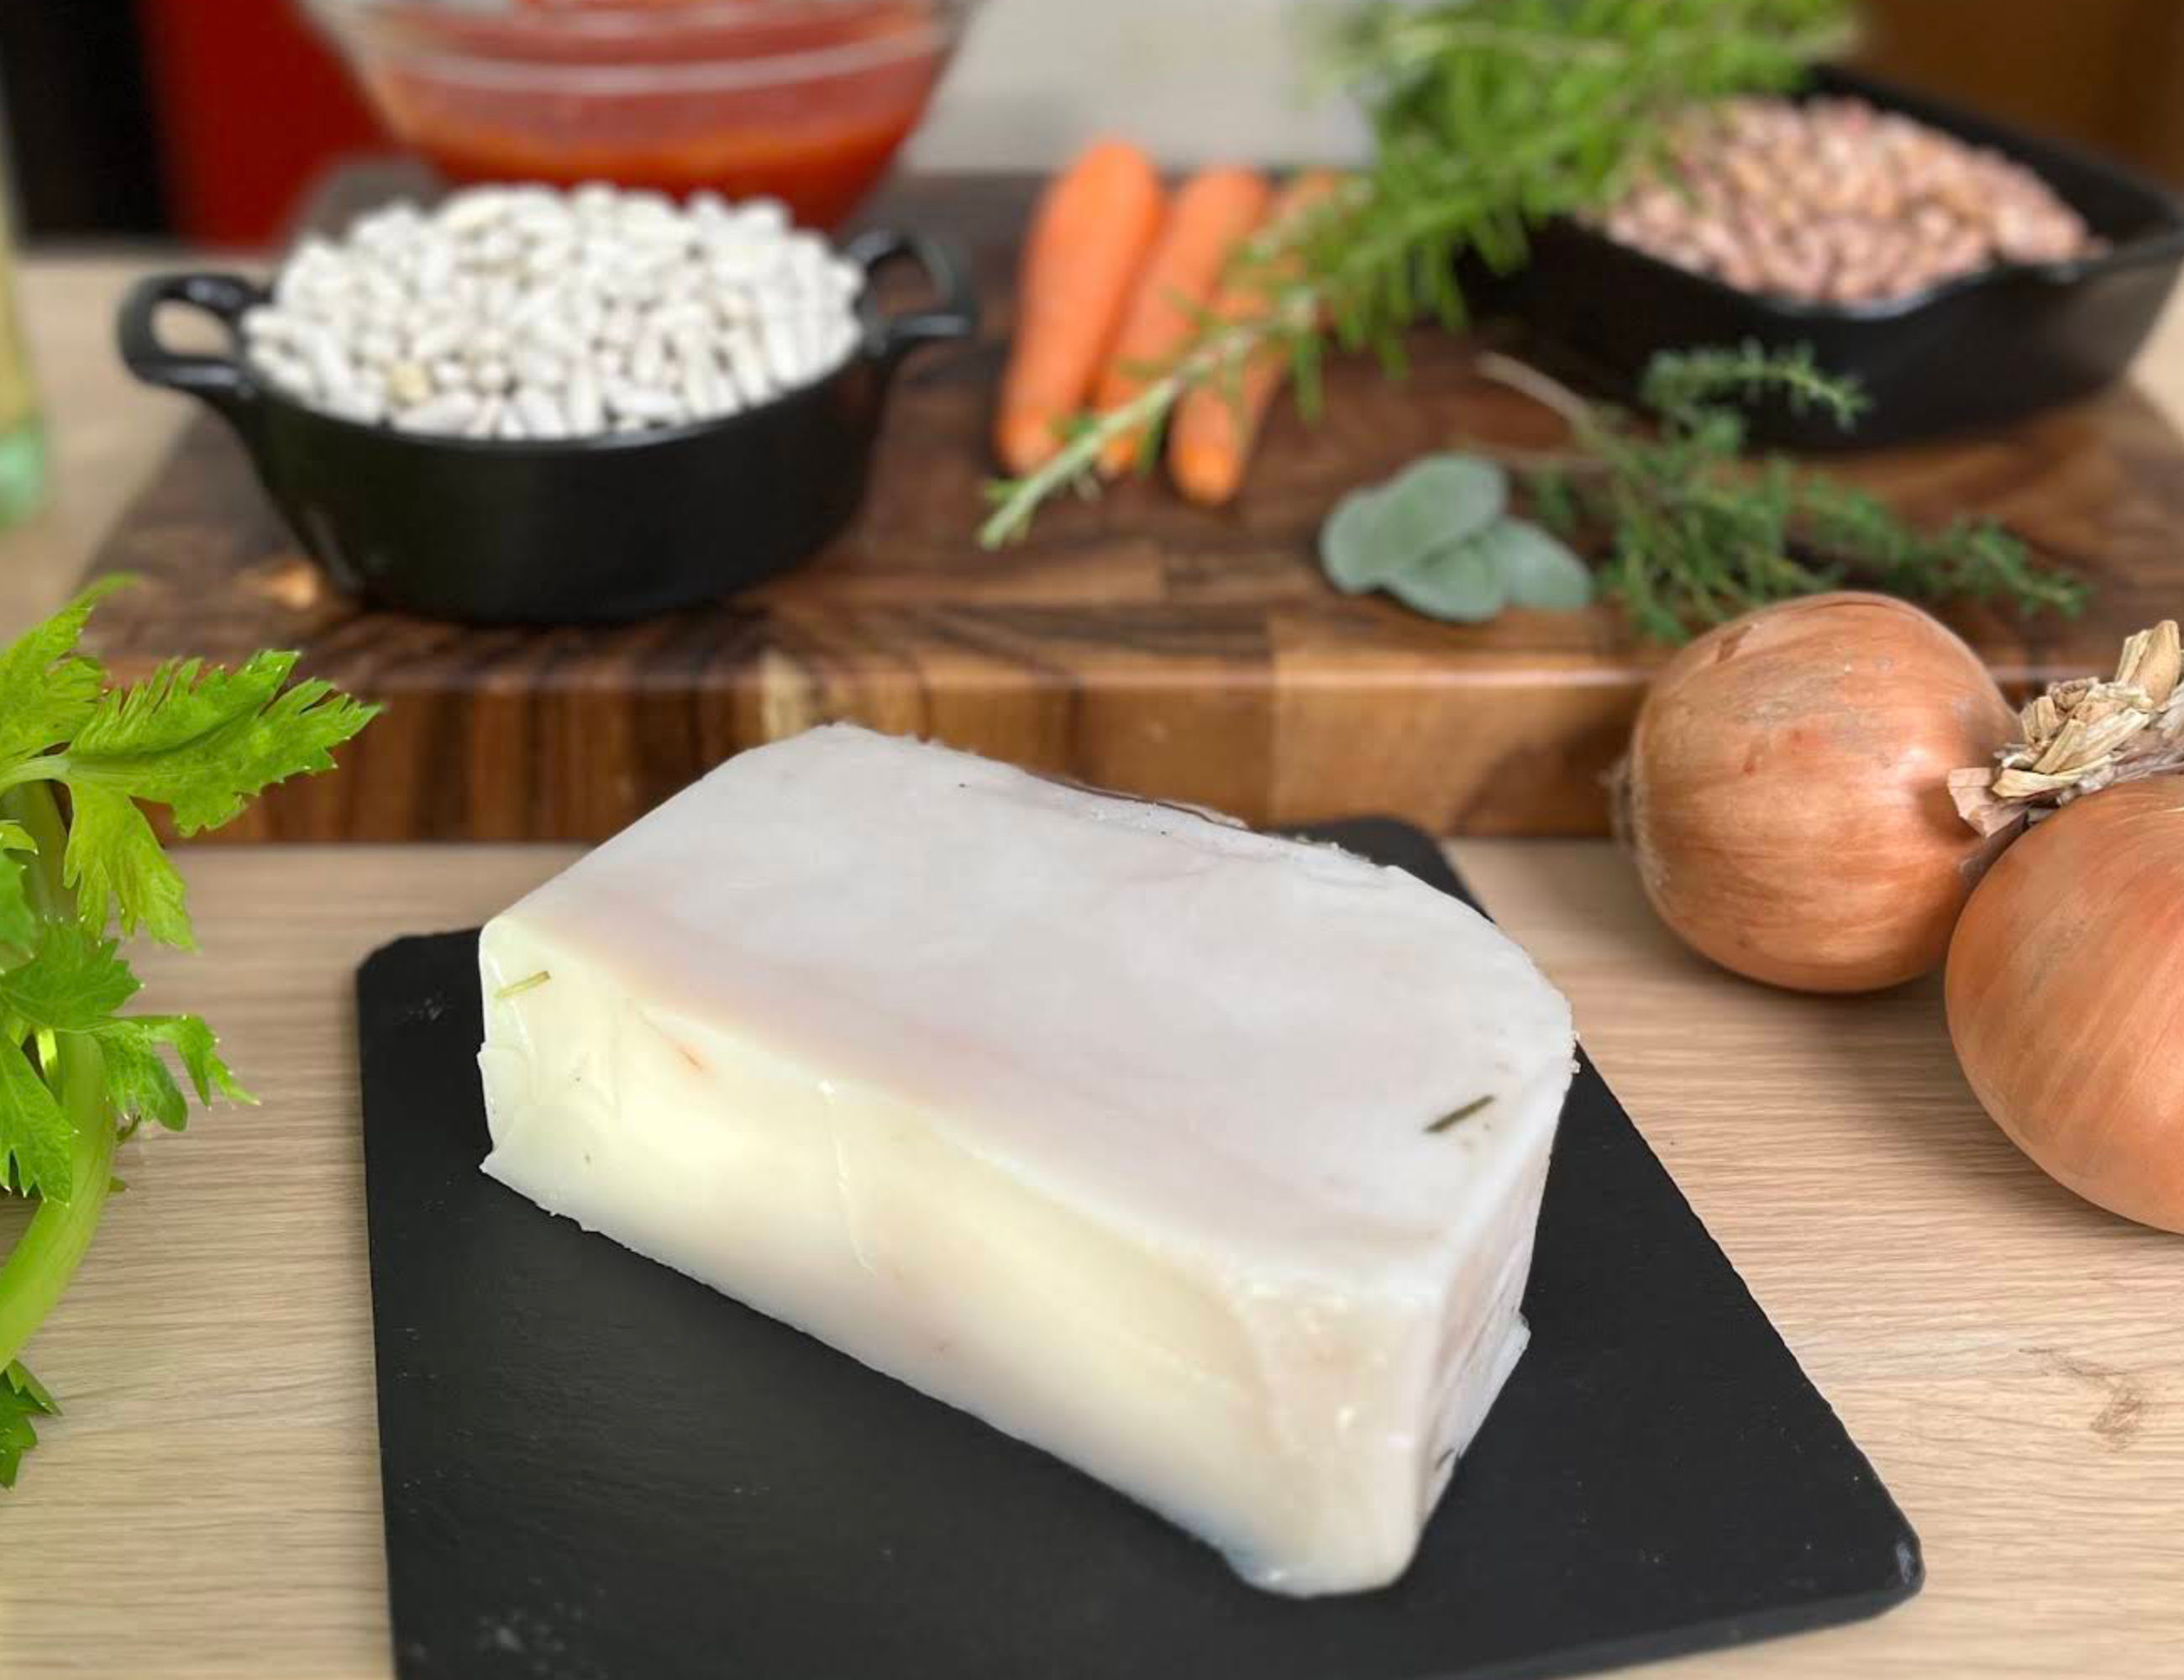
Lard—Is it Necessary for this Focaccia?
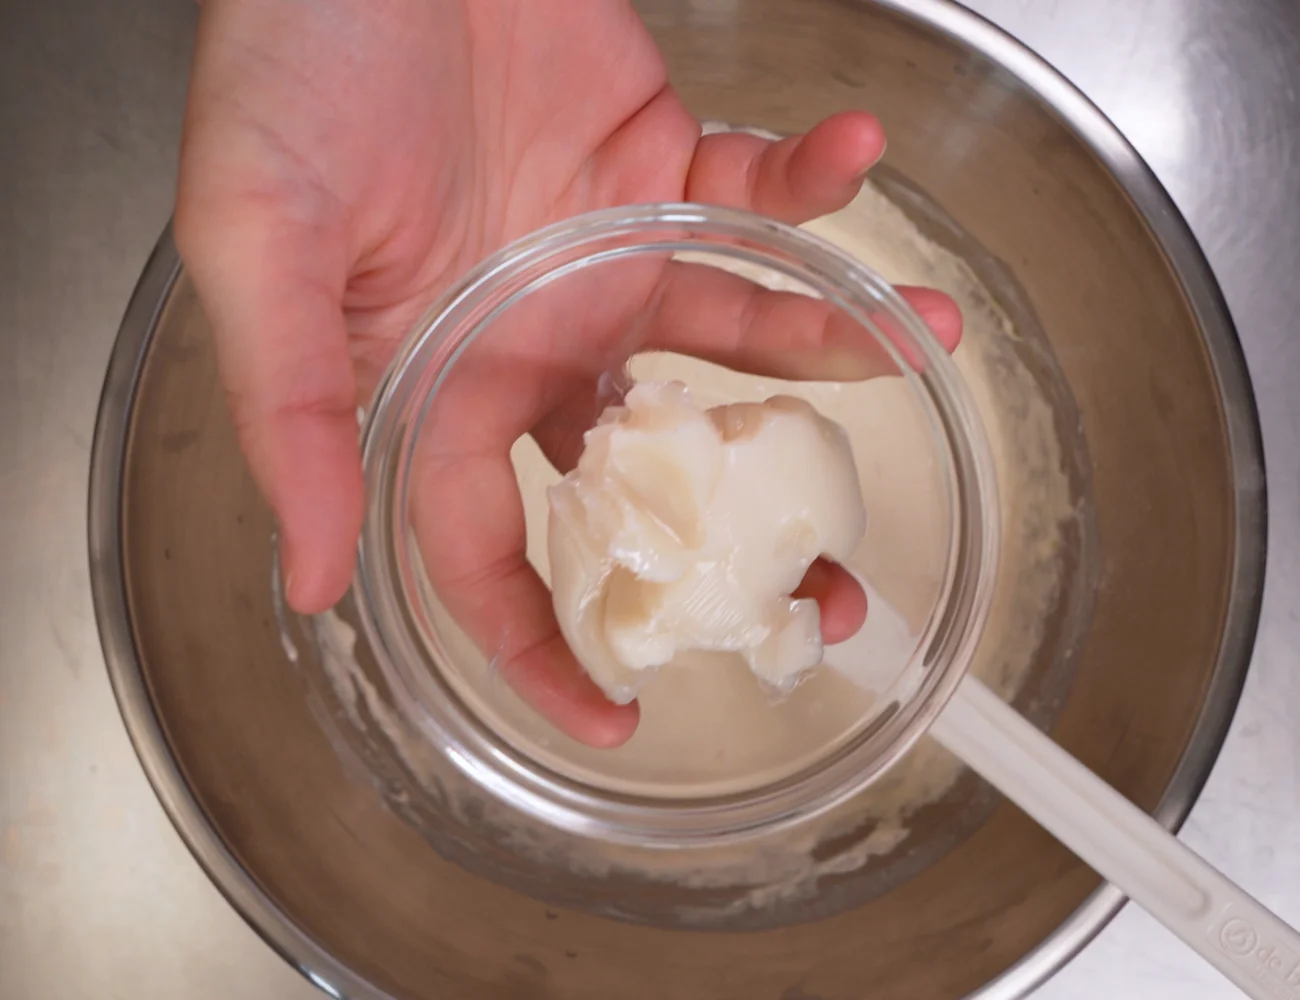
Lard is a traditional ingredient in Focaccia Genovese. We won’t lie: using just olive oil or replacing the lard with butter will not produce the same taste or soft structure.
This is because lard is more solid than olive oil but less solid than butter at room temperature. We understand many of you may not want to cook with lard these days for health reasons.
In fact, in our Focaccia Genovese we use a uniquely healthy lard— a lard from Tuscany called Lardo di Colonnata di Cinta Senese. While most lard has plenty of saturated fat, this lard from a breed of pig called Cinta Senese as they are raised in Tuscany is chock full of unsaturated fats—yes, you read that right—as well as omega-3 and omega-6.
If you don’t want to use lard, substitute with olive oil.
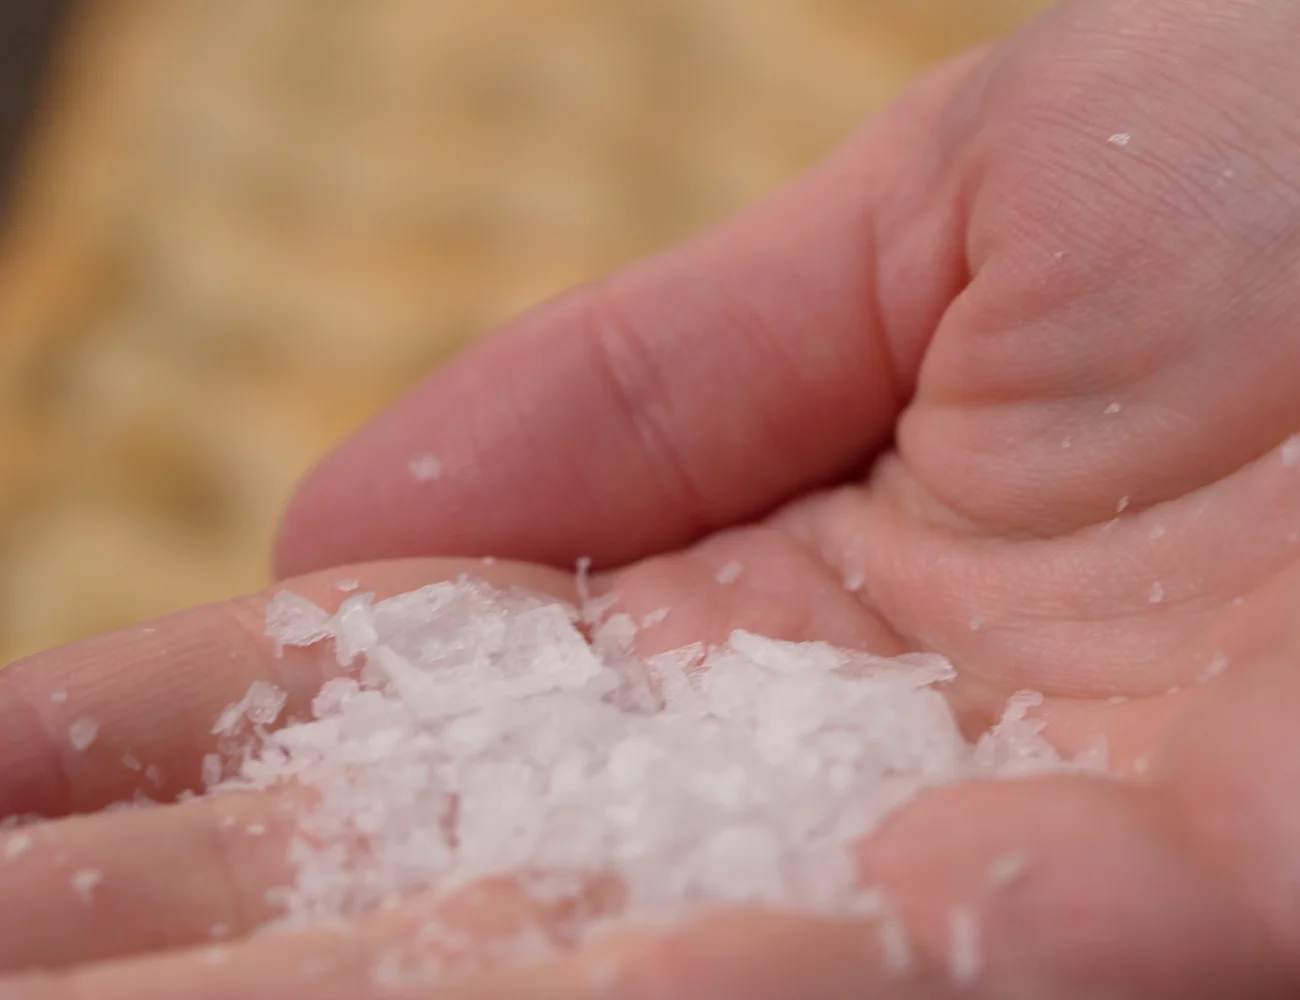
Salt, Olive Oil, Water
The rest of the ingredients in the traditional Focaccia Genovese recipe do not require much explanation. They are salt, olive oil and water.
We will be making a brine (mixing the salt and water together) and spreading that with the olive oil on the focaccia to create an emulsion! It’s the unique finish (pouring salt water over the surface of the focaccia) that creates the unique white coloring wherever we’ve pressed with our fingertips.
How to Make Focaccia Genovese
This recipe will make enough dough for…
- 2 trays of focaccia 40×30 cm (16″x 12″)
- or one large tray of focaccia 60×40 cm (24″ x 16″)
For those who love details, here is some additional information about this focaccia dough:
- 60% water
- weight: 0.4 g/cm2
- height: 2 cm (3/4 of inch)
- 6 g of active dry yeast for dough rising in a temperature of 73° F (23° C)
Don’t want the details? Keep reading and we’ll walk you through the recipe step by step!
Make the Dough
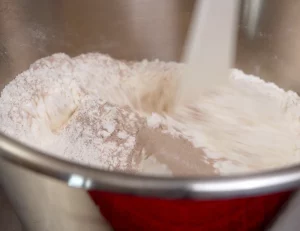
In a large bowl: Combine the yeast and malt (if using dry malt) to the flour.
You can mix the dough by hand or with a stand mixer using the paddle attachment.

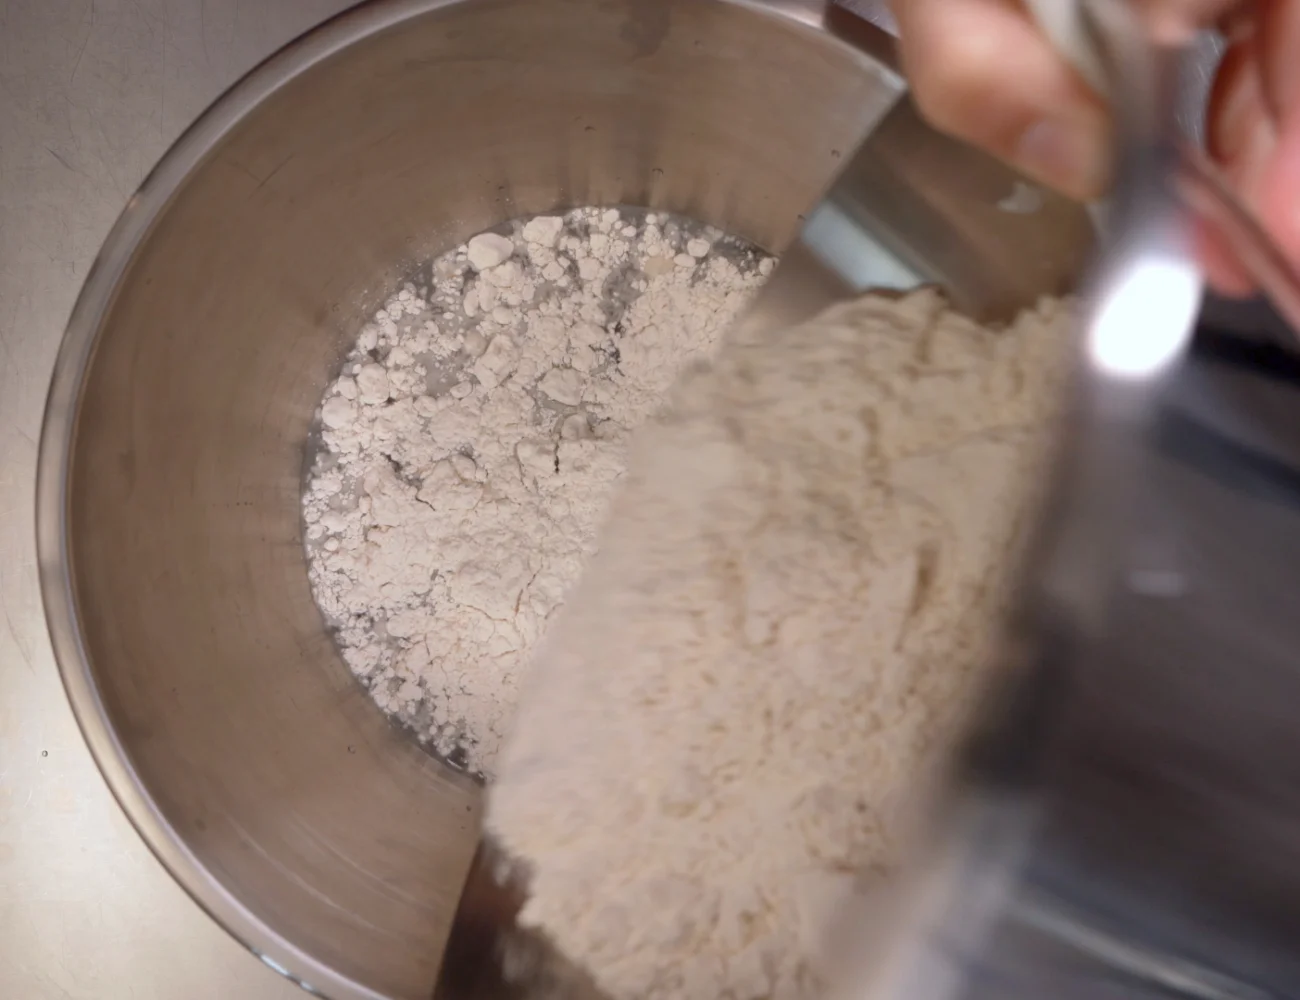
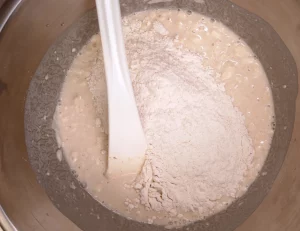
Add water to a large bowl (stand mixing bowl if you plan to knead with a stand mixer). Slowly add the flour and mix well.

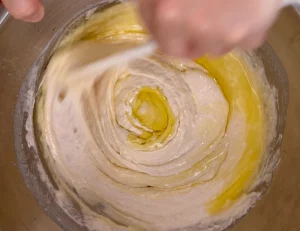
Add the olive oil and mix well.

Add the lard (if using it) and mix well.
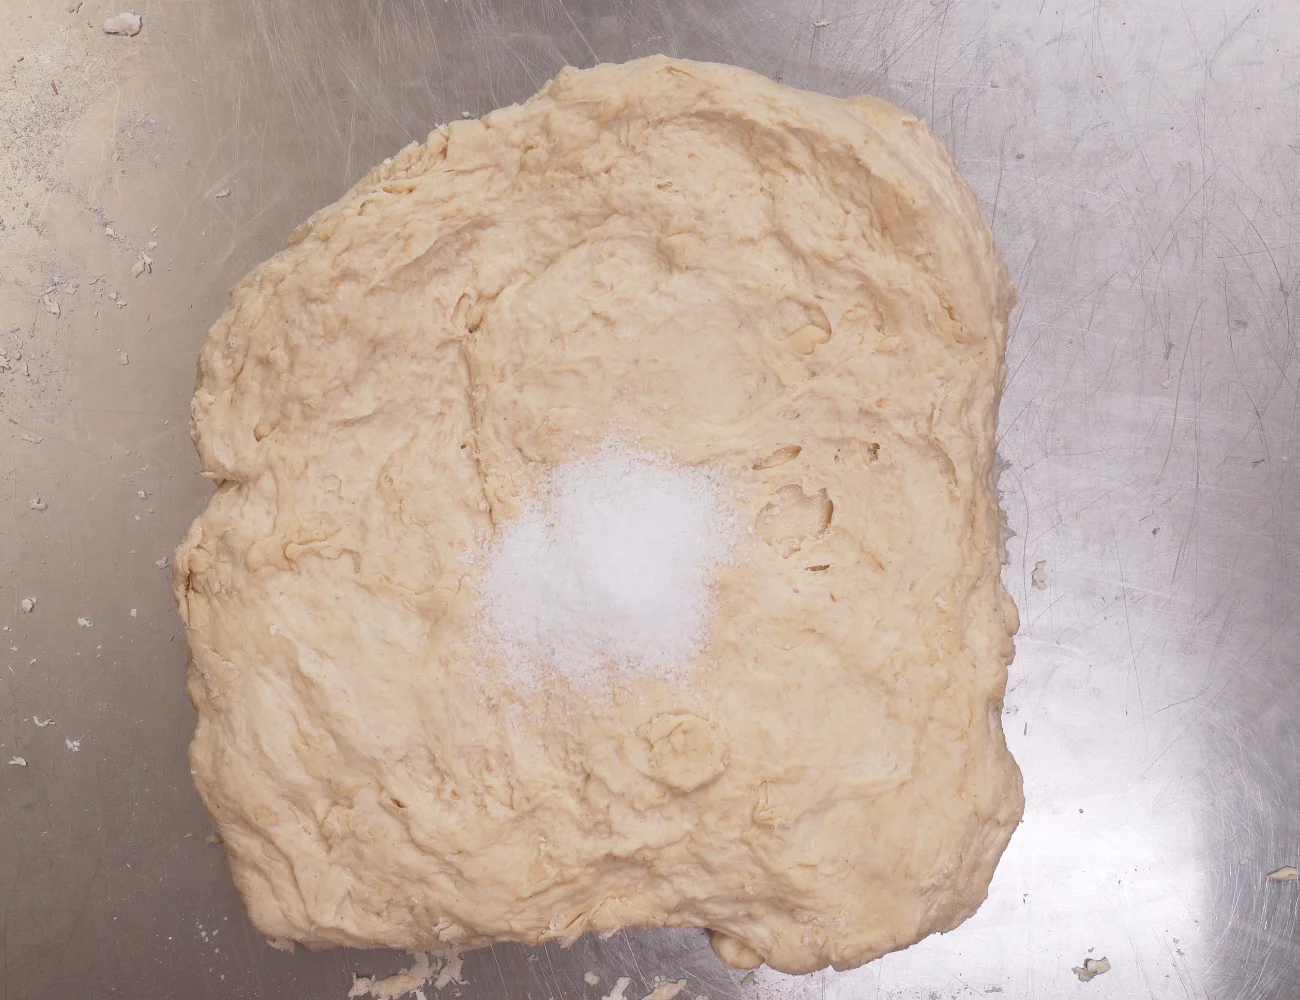
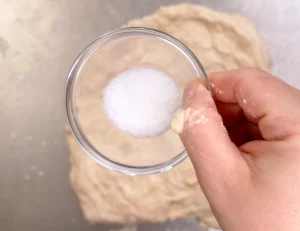
Finally, mix in the salt. Salt can inhibit yeast, so it’s best to add it in towards the end. You can even ‘knead’ in the salt after transferring the dough to a work surface (as we’ve done here).
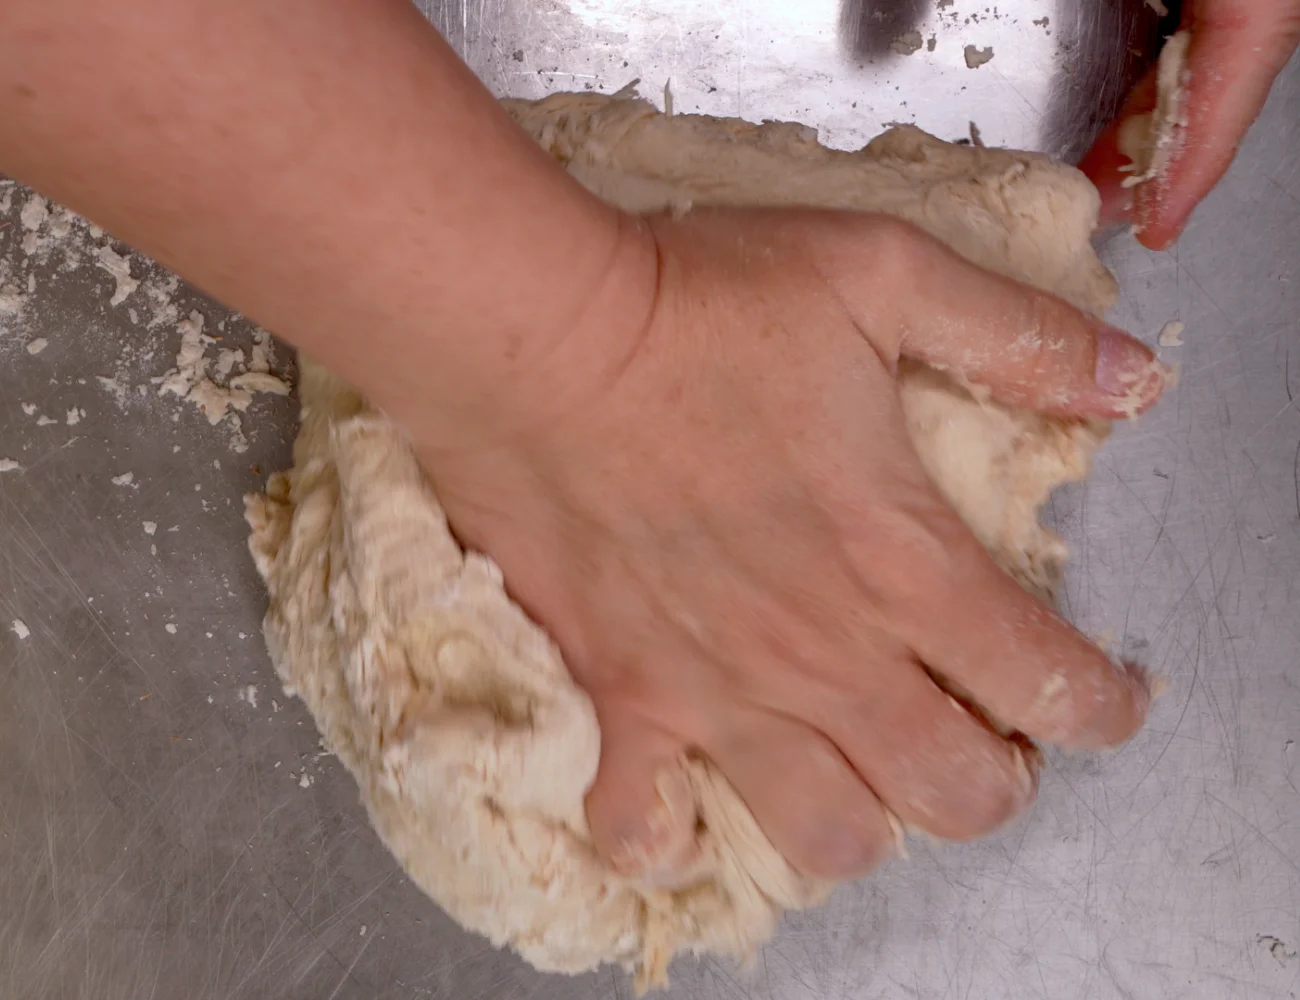
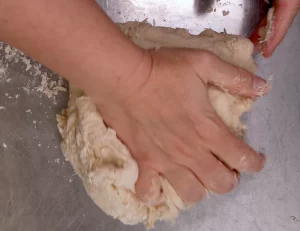
Knead the Dough: 10-15 Minutes
You can knead the Focaccia Genovese dough with your hands or a stand mixer (fitted with the dough hook).
Knead with a stand mixer…
Fit the stand mixer with the dough hook. Knead on low (‘2’ on most stand mixers) for 10 minutes. Knead until the dough ball is smooth and soft.
…Or, knead by hand:
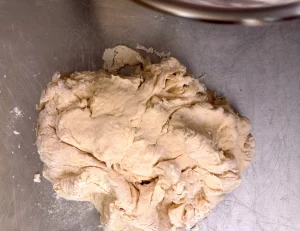
Transfer the dough to a work surface.

Knead the dough by hand for about 15 minutes—until the dough ball is smooth and soft. Watch the video recipe on this page to see how to knead focaccia dough!
Let the dough rest covered for 10 minutes.
Why this extra step? The dough kneaded by hand will be rougher in texture. Letting the dough rest lets the gluten in the dough relax a bit. Then finish kneading for another 3 minutes to create a smooth dough ball (as you would achieve with a stand mixer).
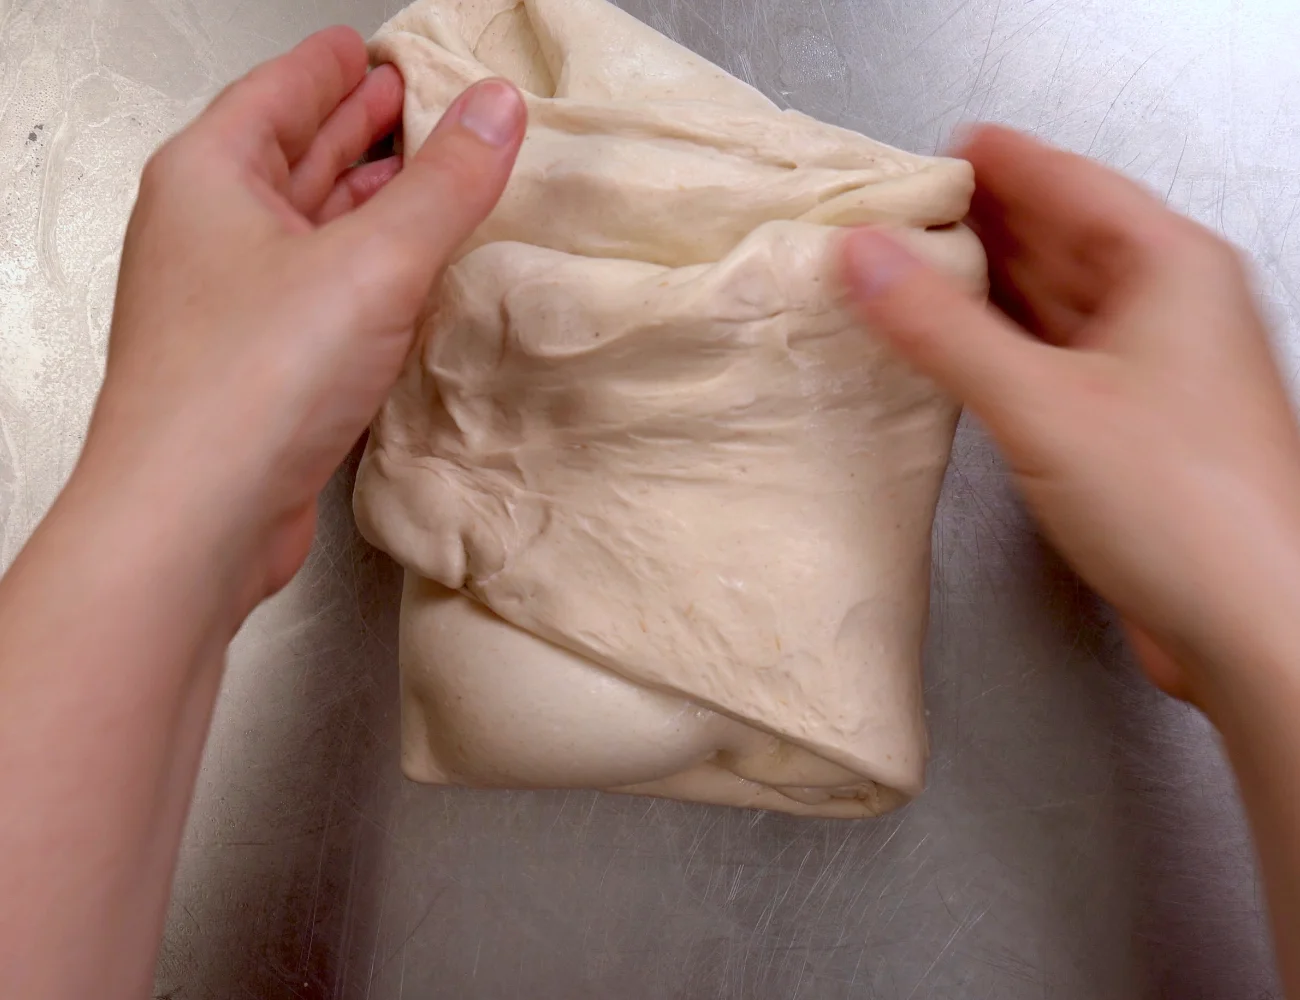
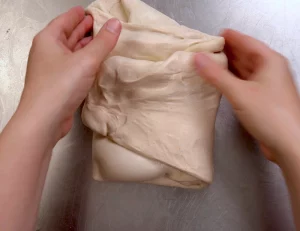
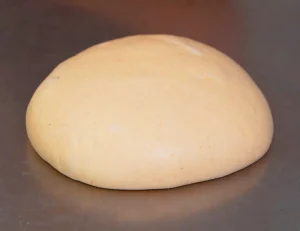
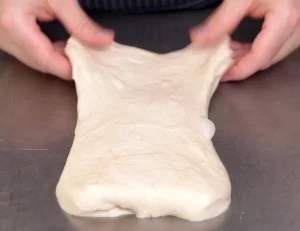
Stretch and Fold Dough
Stretch the dough to dry it out a bit.
Then immediately fold it in any way you like in order to once again create a tight ball.
1st Dough Rest: 30 Minutes
Let the dough rest (covered with a bowl or towel) on the work surface for 30 minutes.

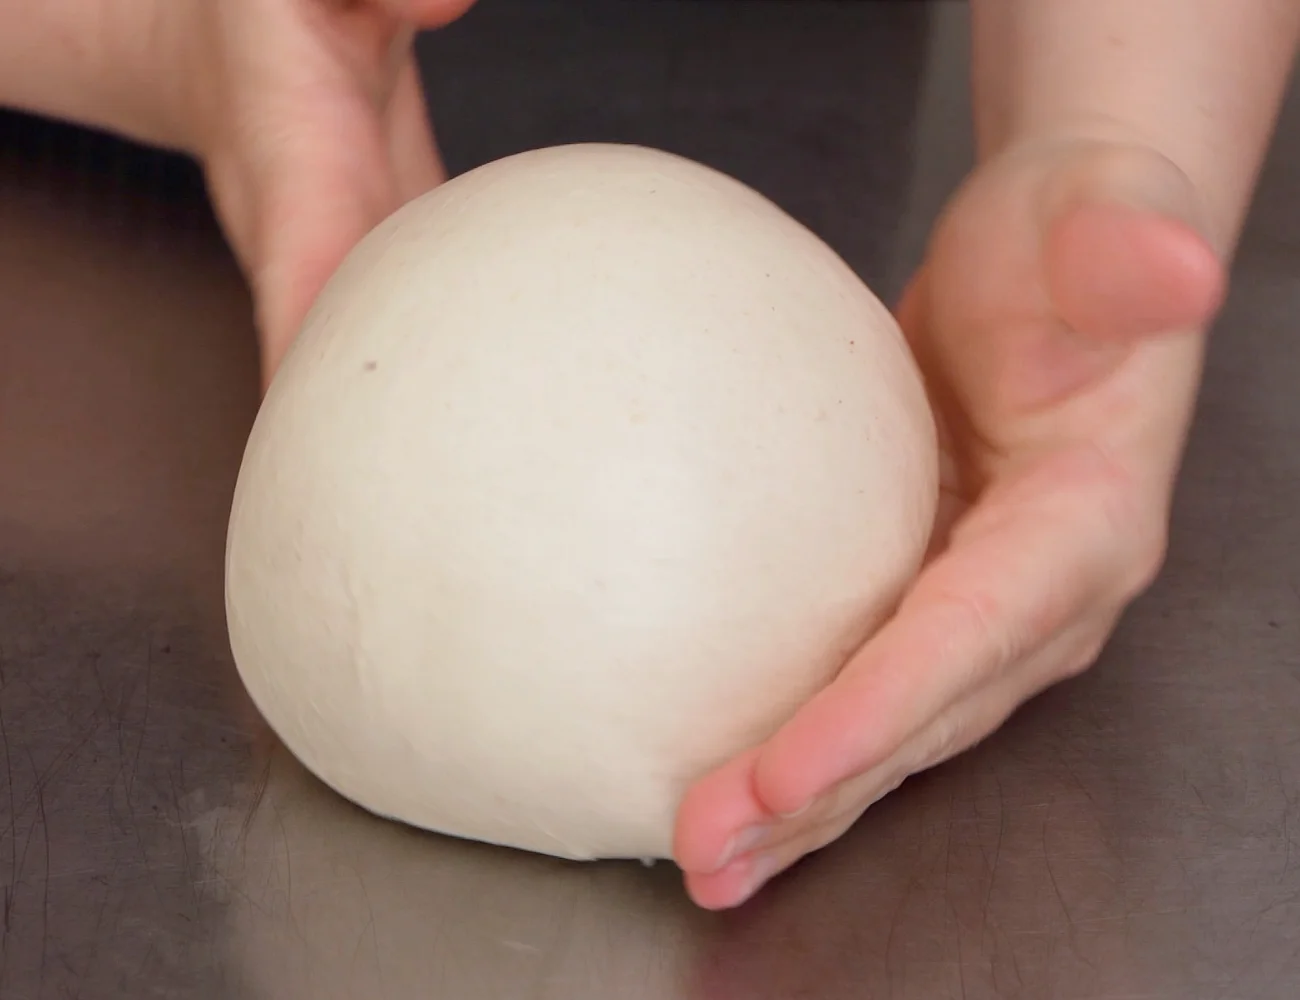
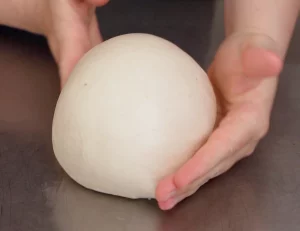
Split the Dough
Split the dough in two equal parts.
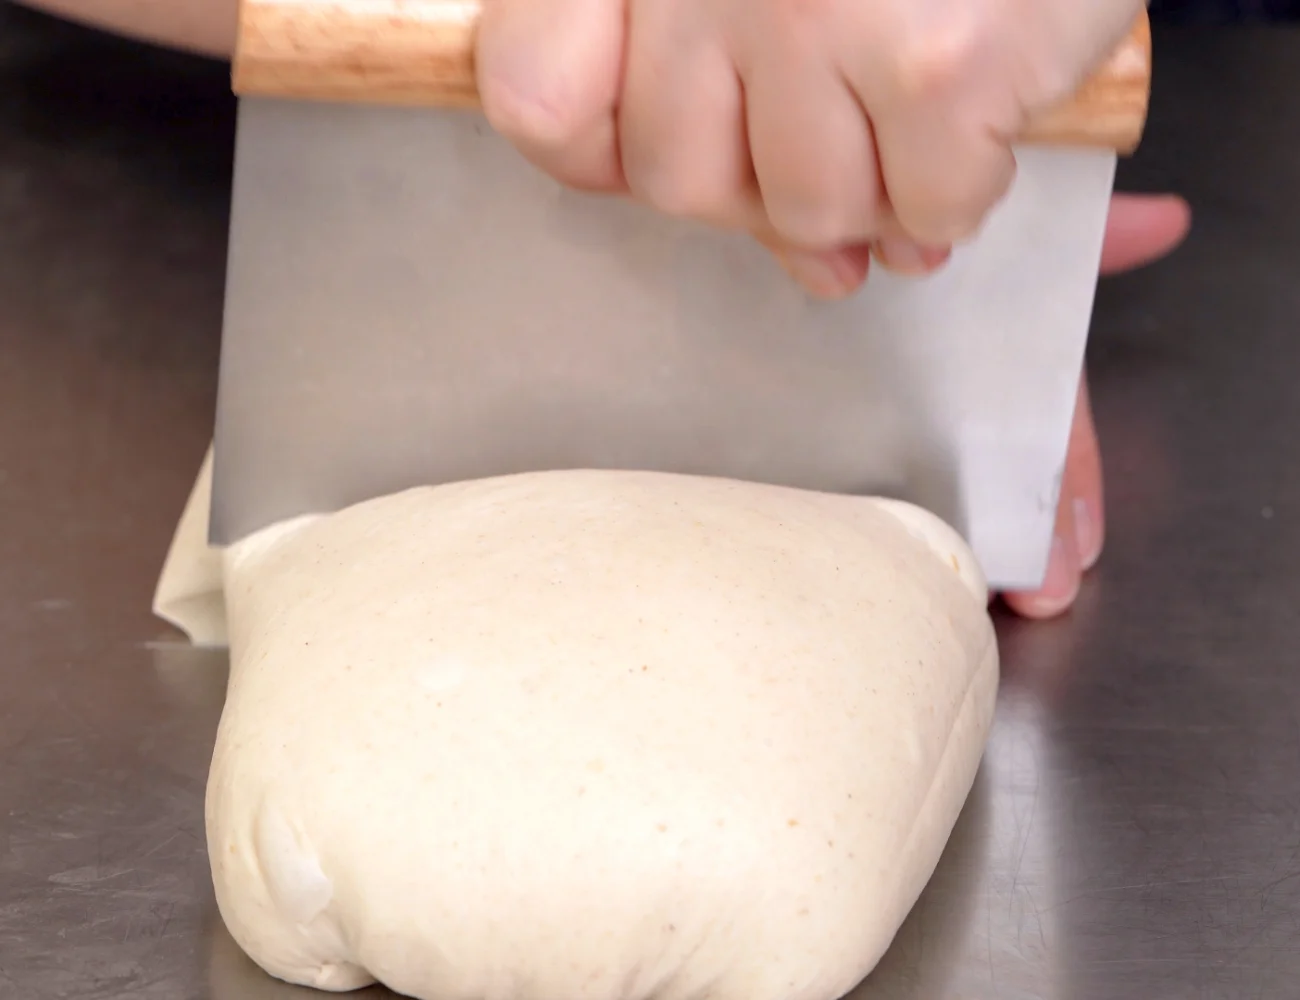
Each piece of dough will weigh about 500 g.

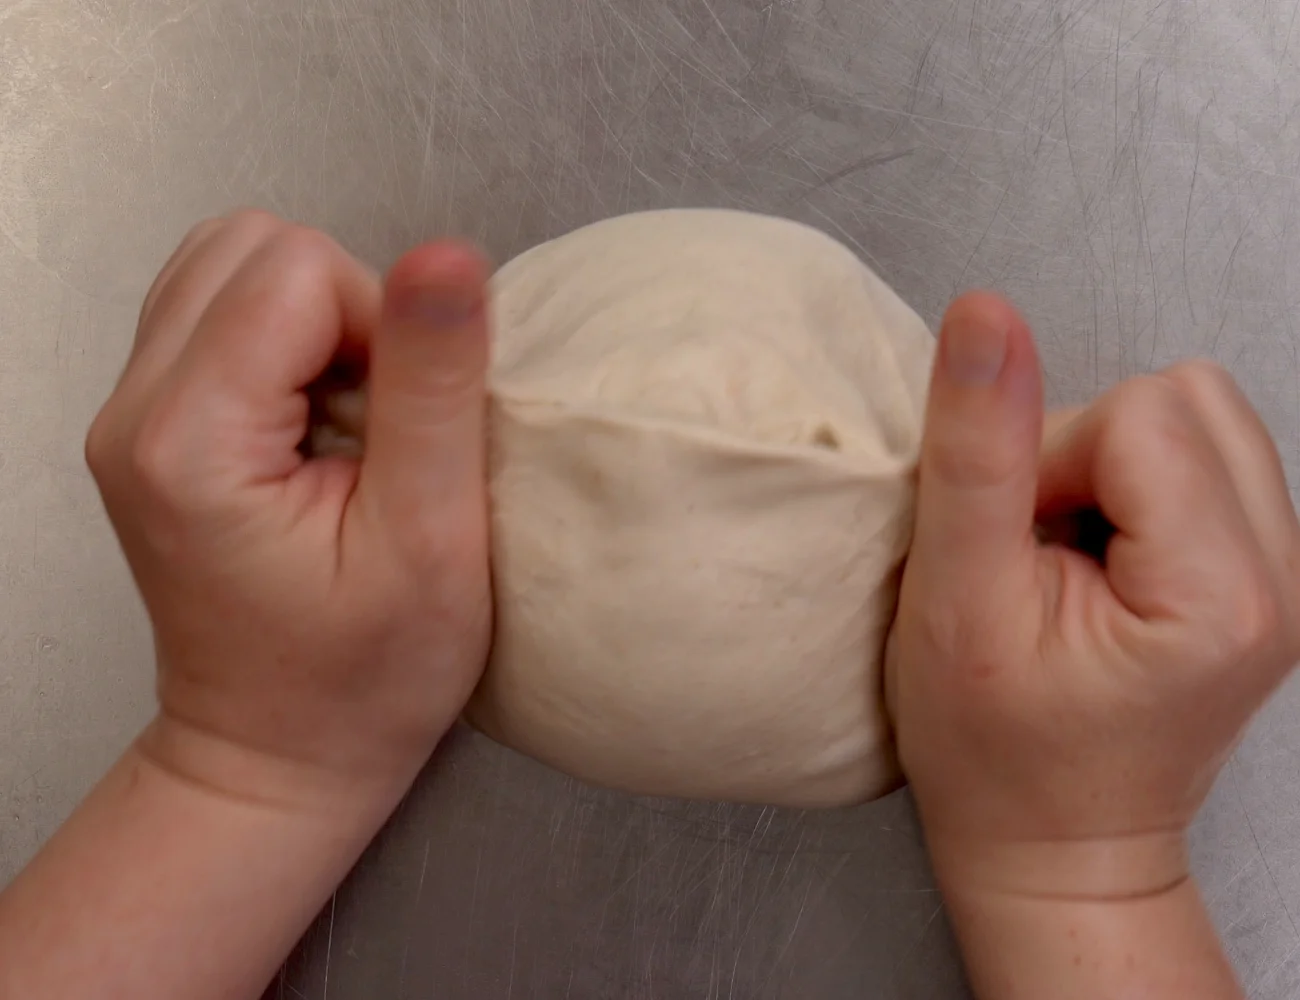
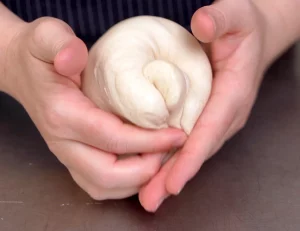
Stretch each dough ball a bit.

Then, roll the dough up and pinch the seam together. Place the dough balls seam-side down.

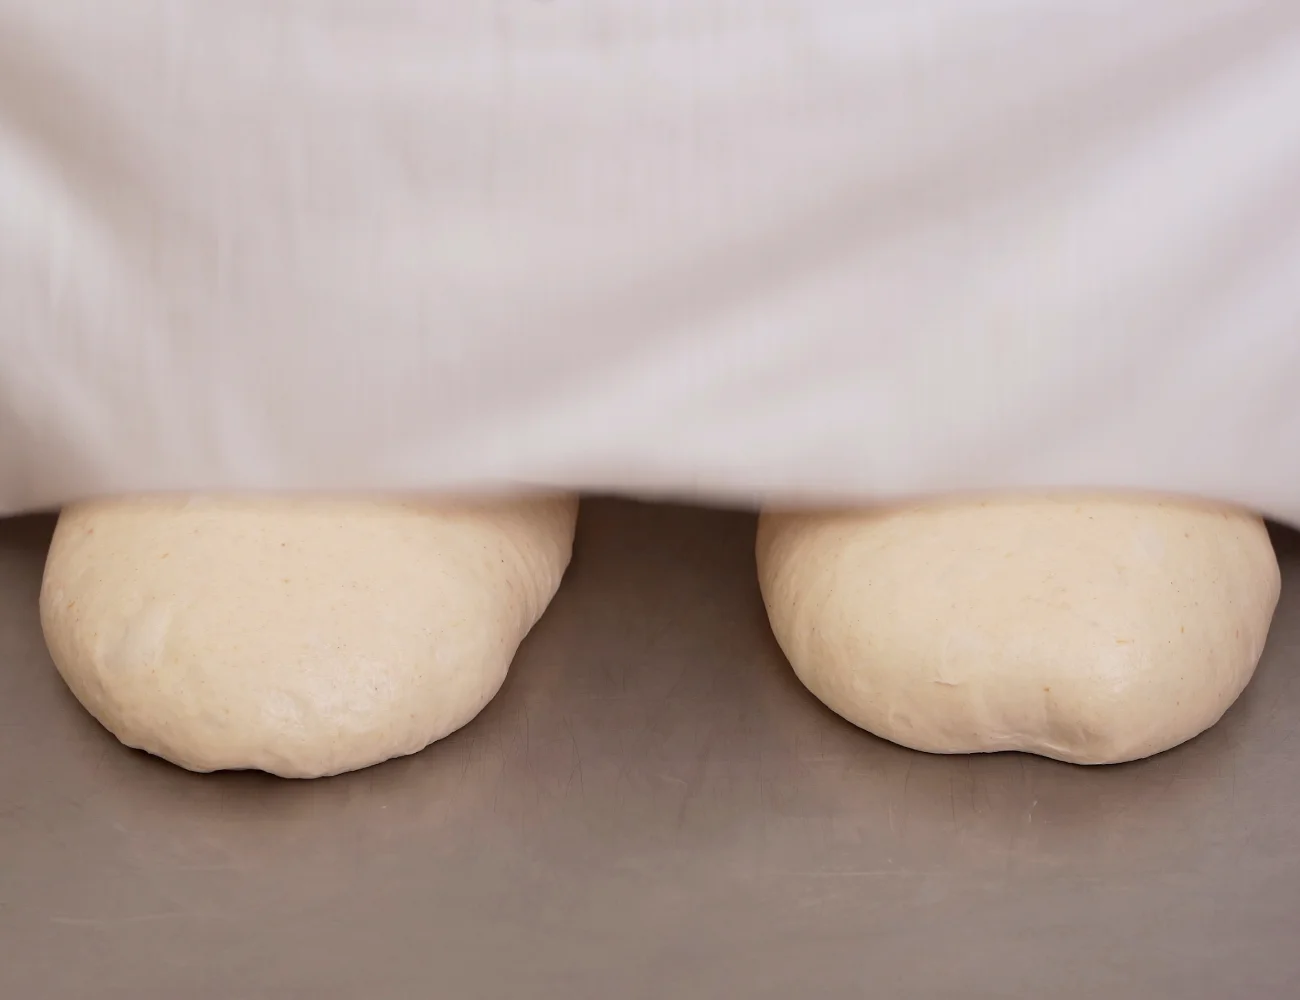
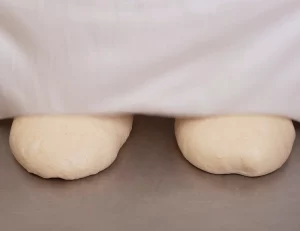
2nd Dough Rest: 30 Minutes
Let the dough balls rest (covered) for another 30 minutes.
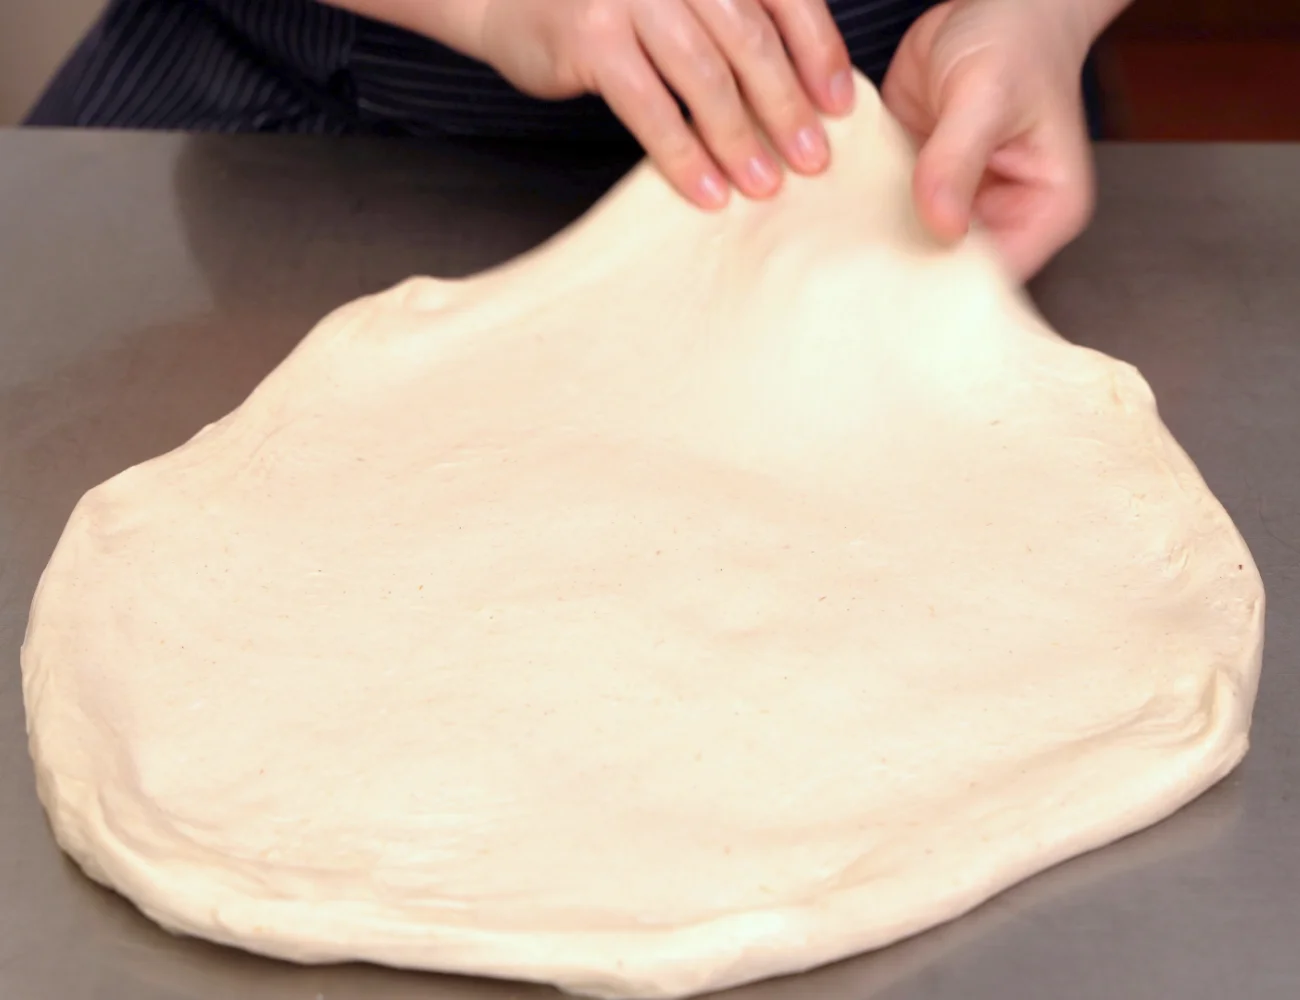
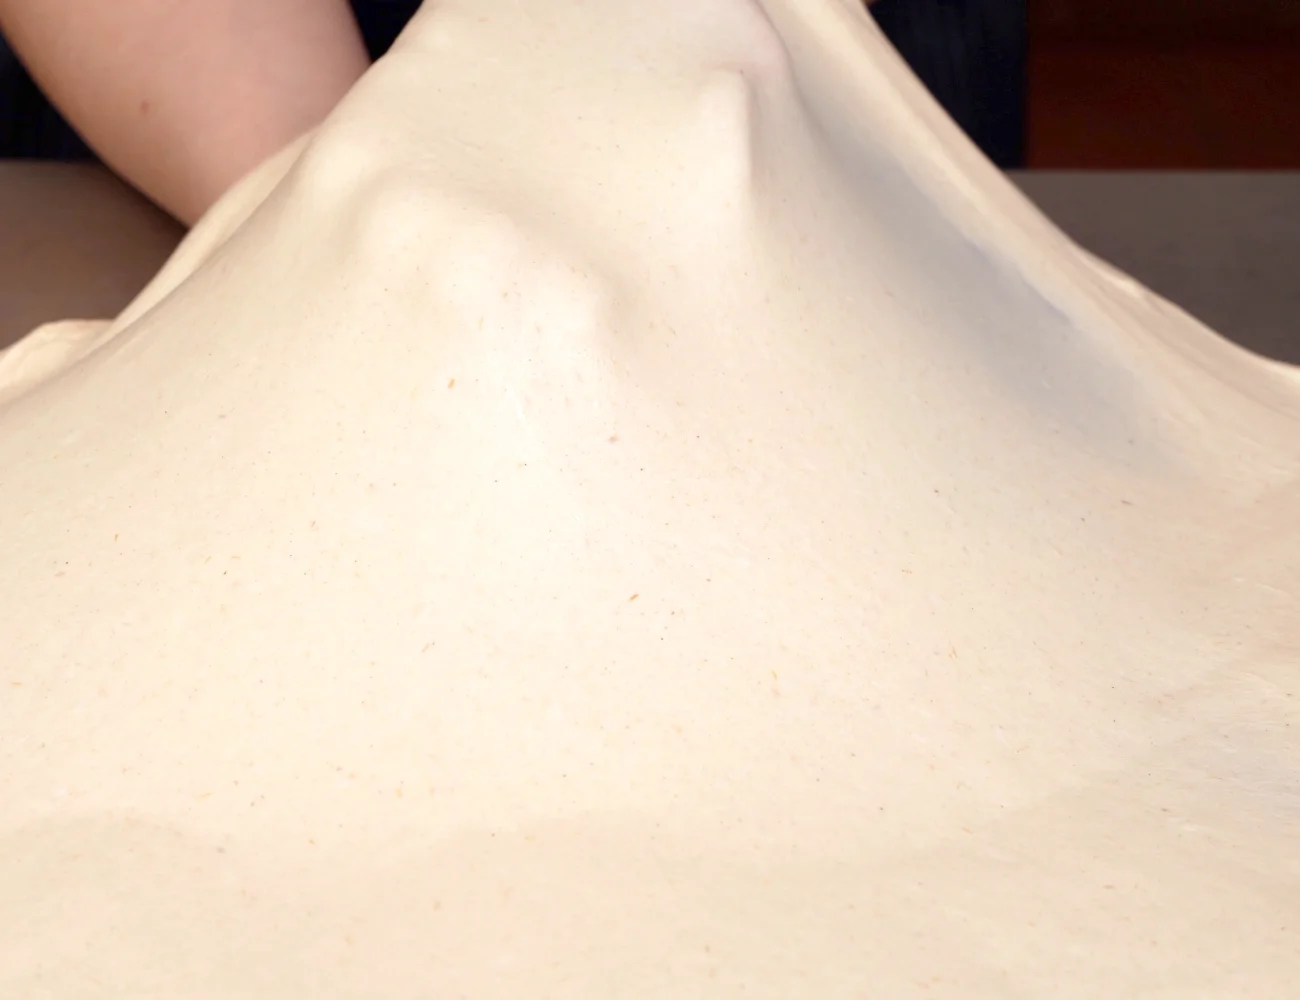
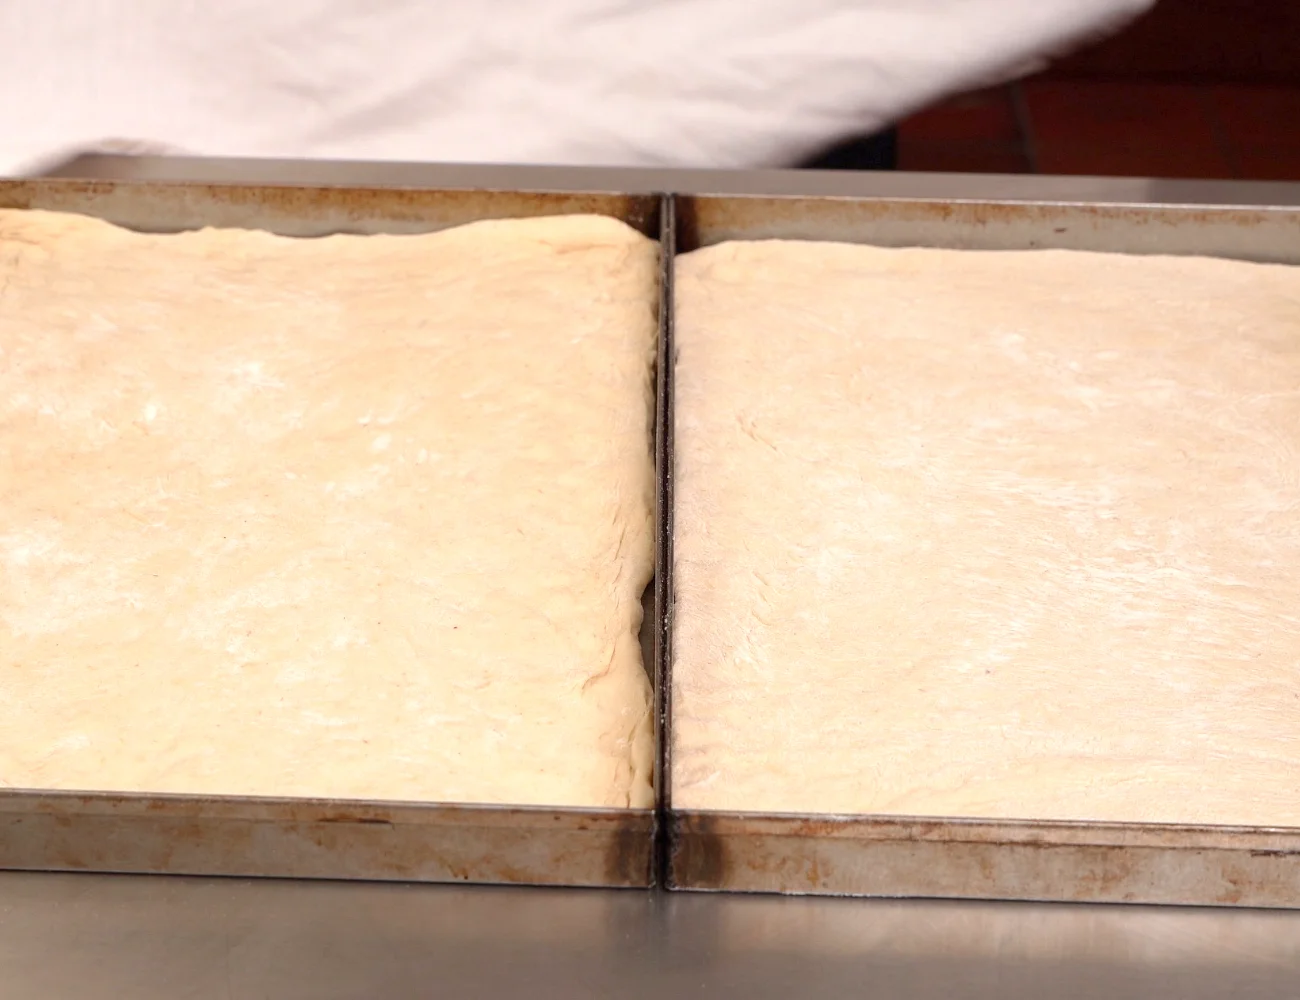
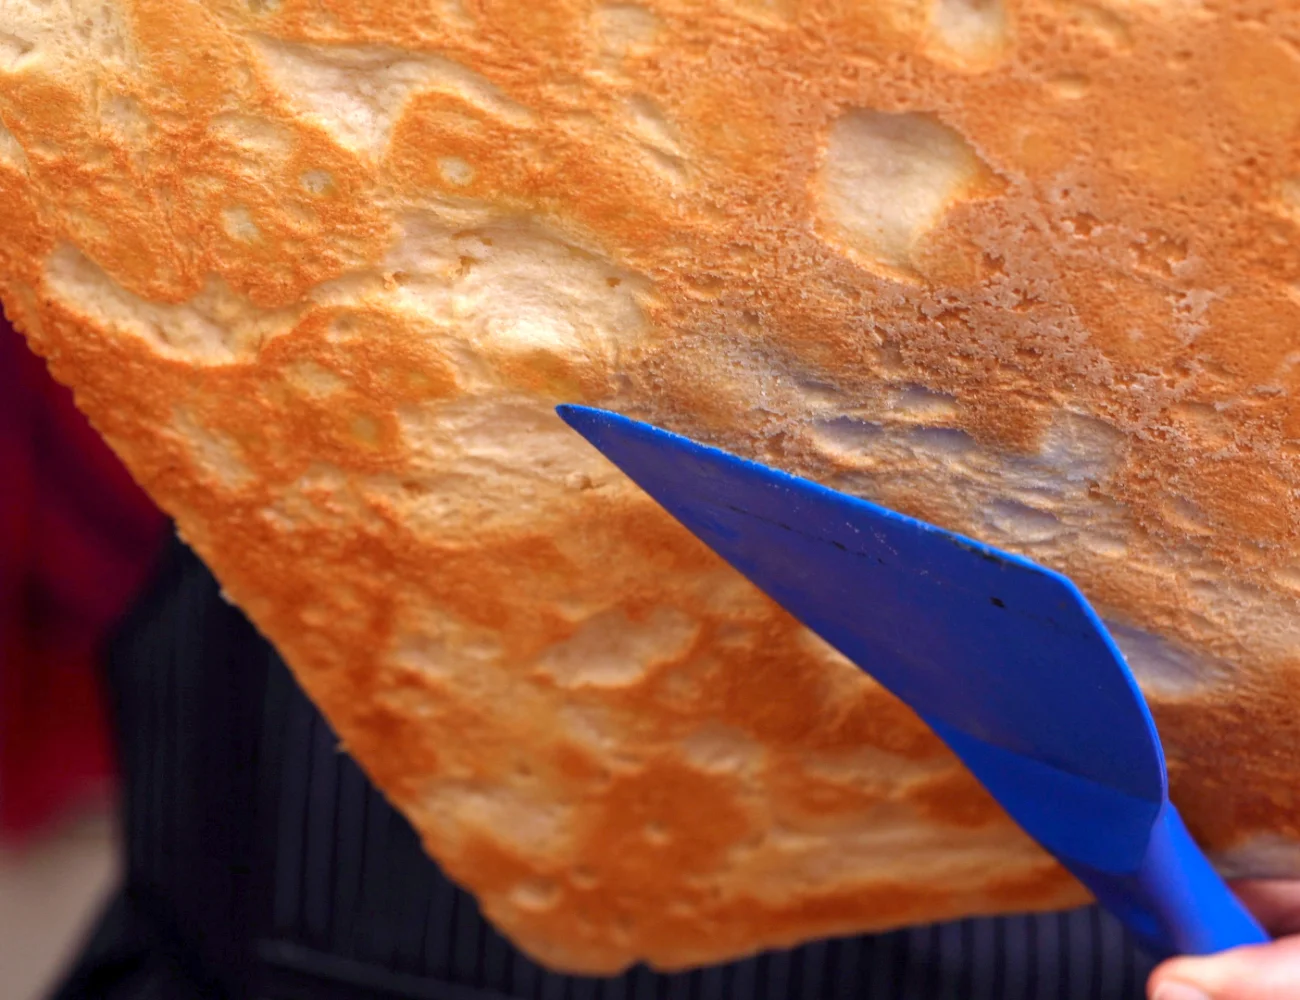
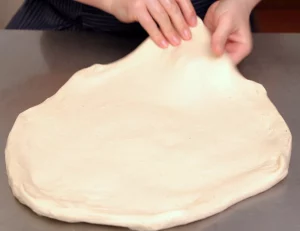
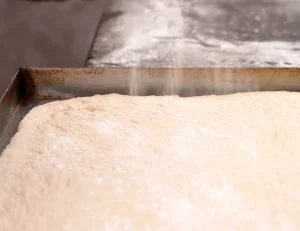
Stretch and Transfer to Baking Tray
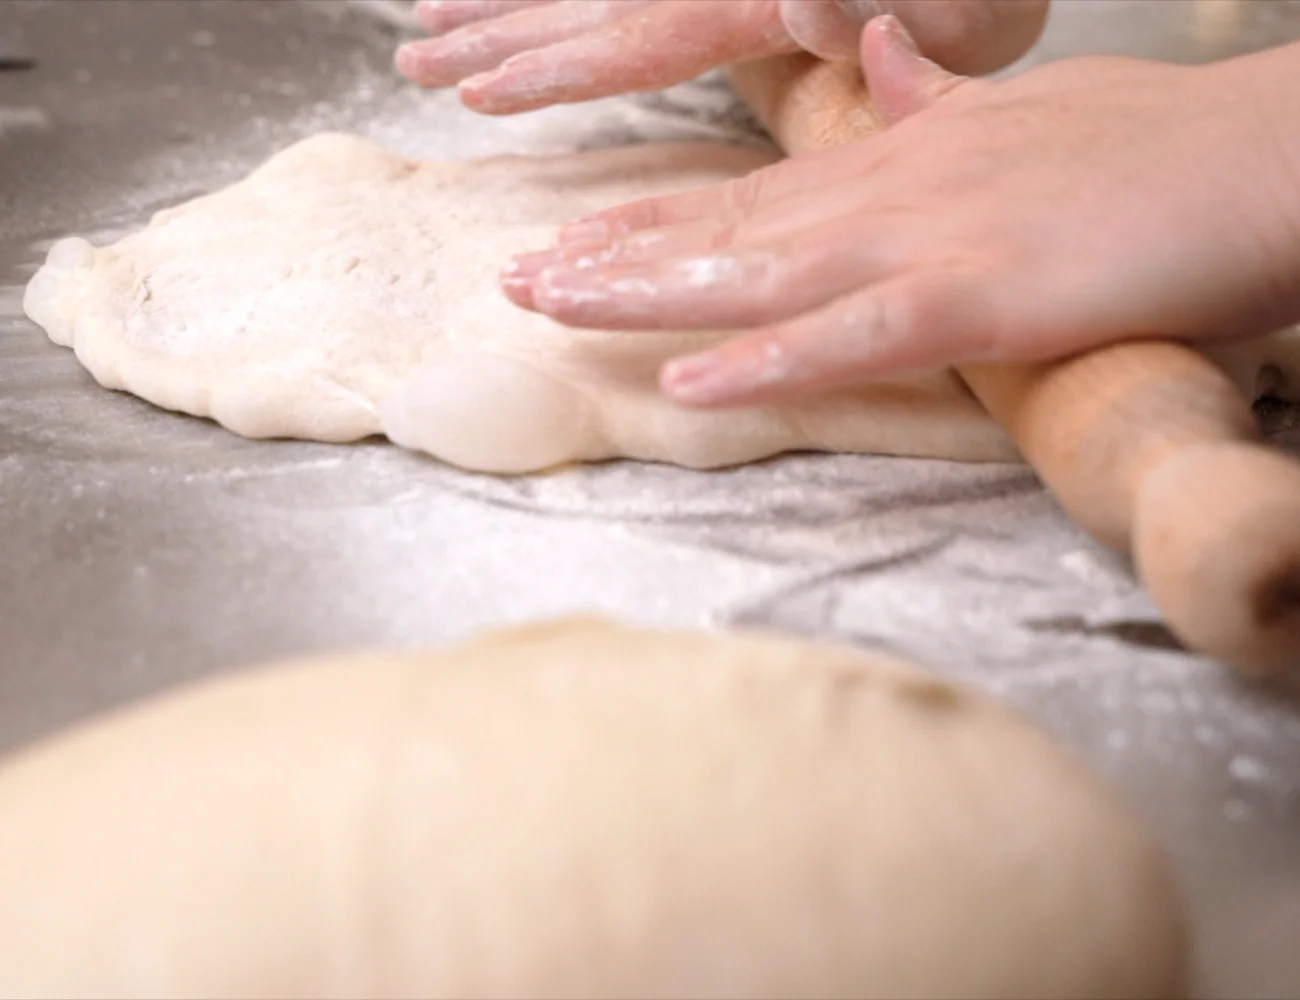
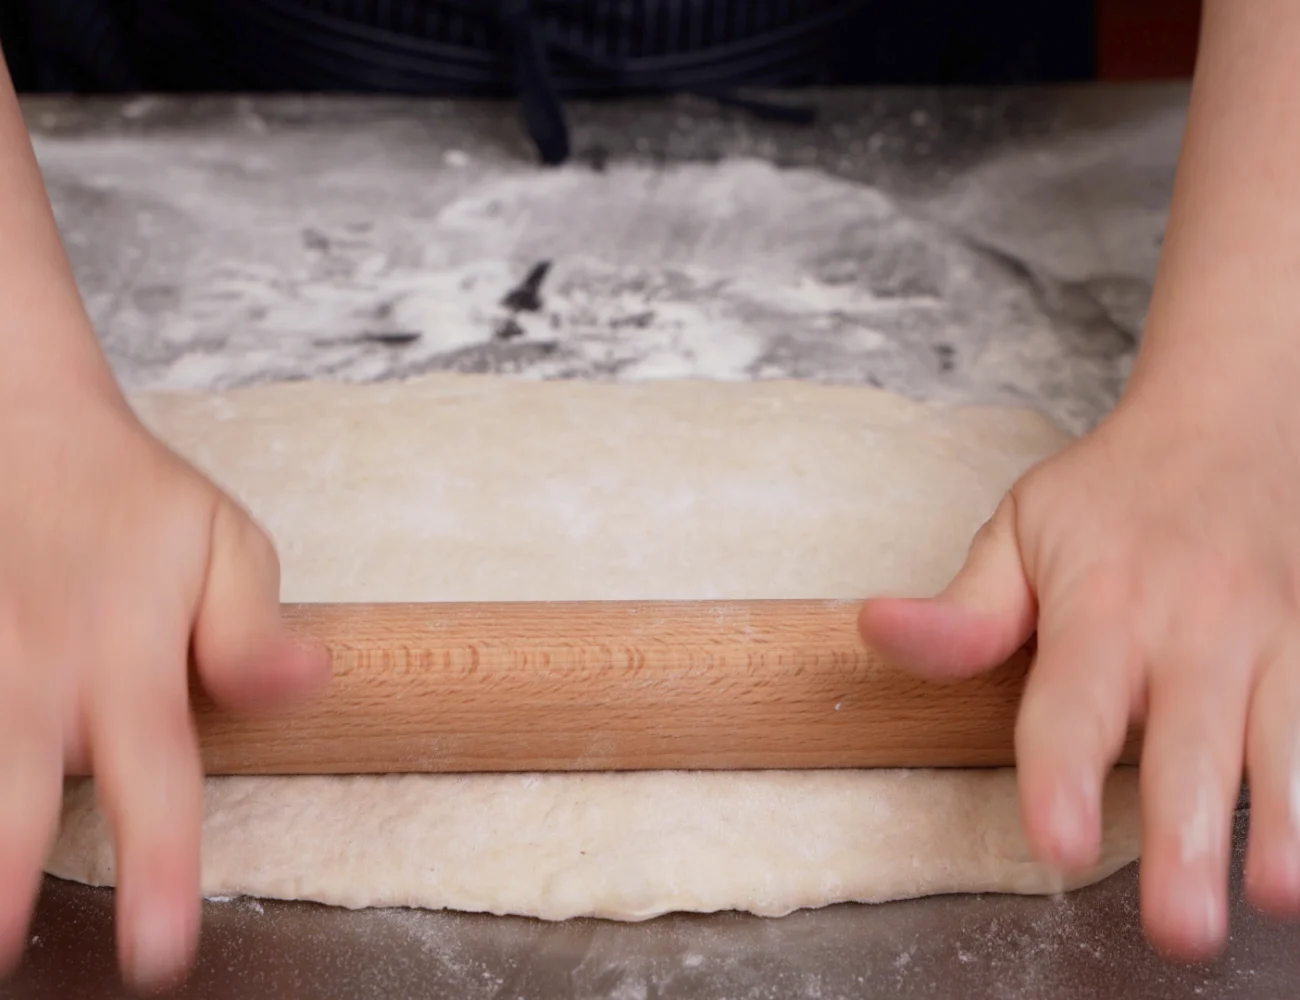
Lightly flour a work surface and the dough balls. Using a rolling pin, stretch each dough ball to roughly the size of the baking trays you are using.
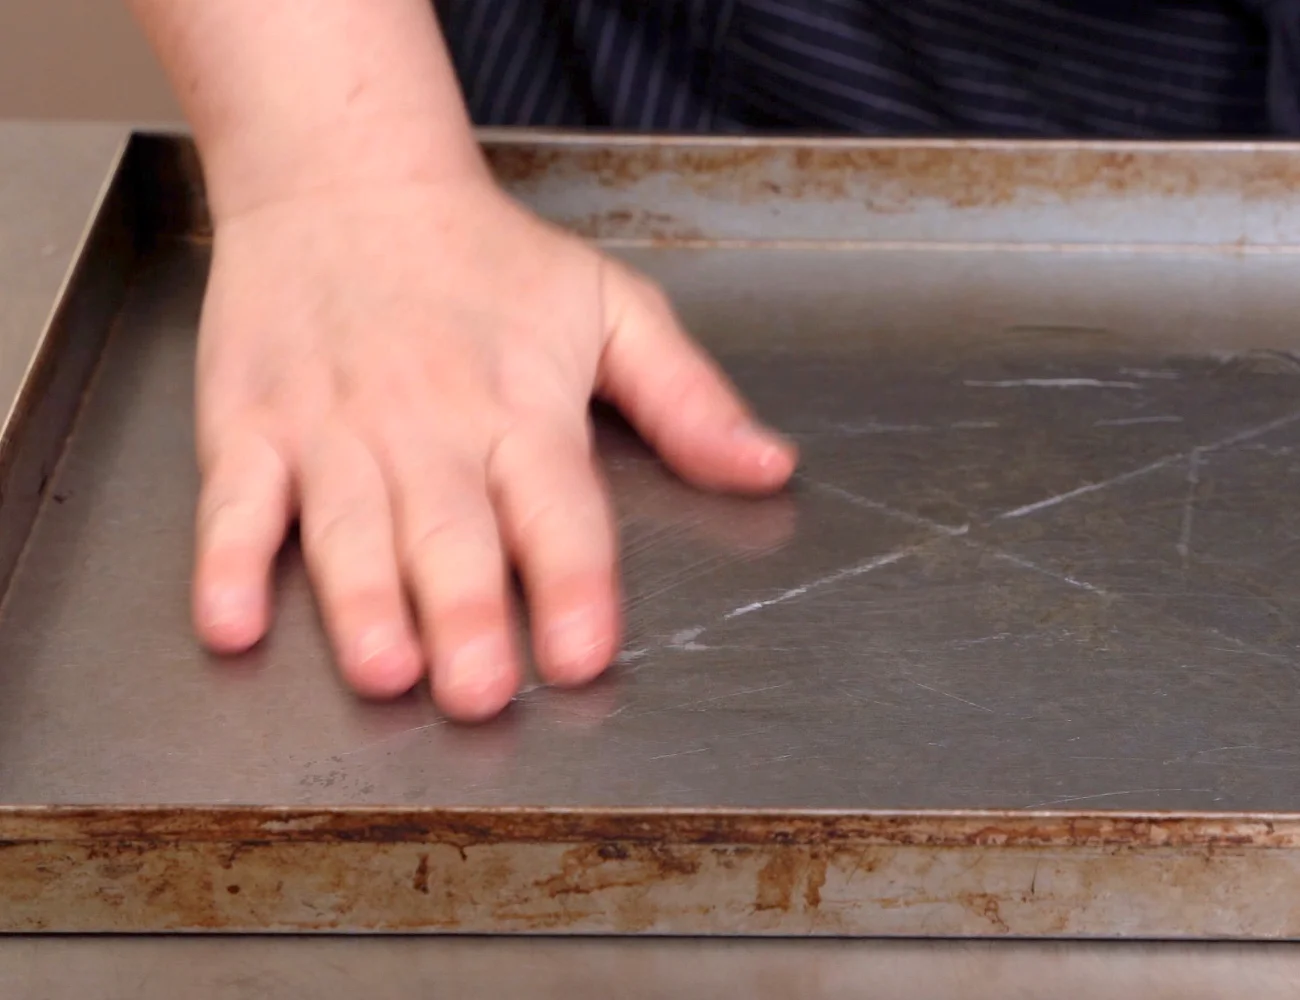
Lightly oil the baking trays.
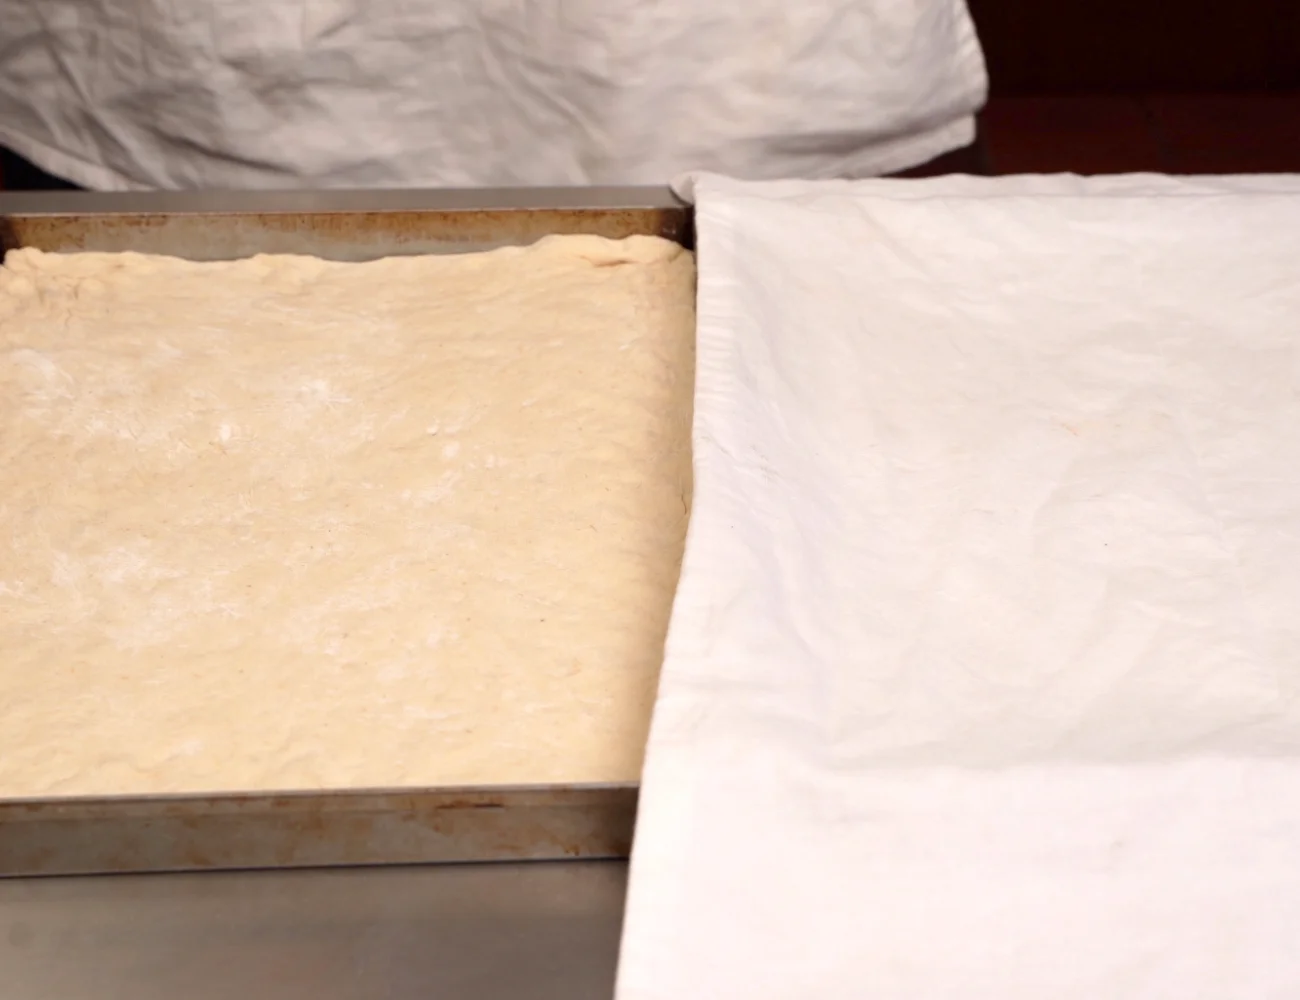
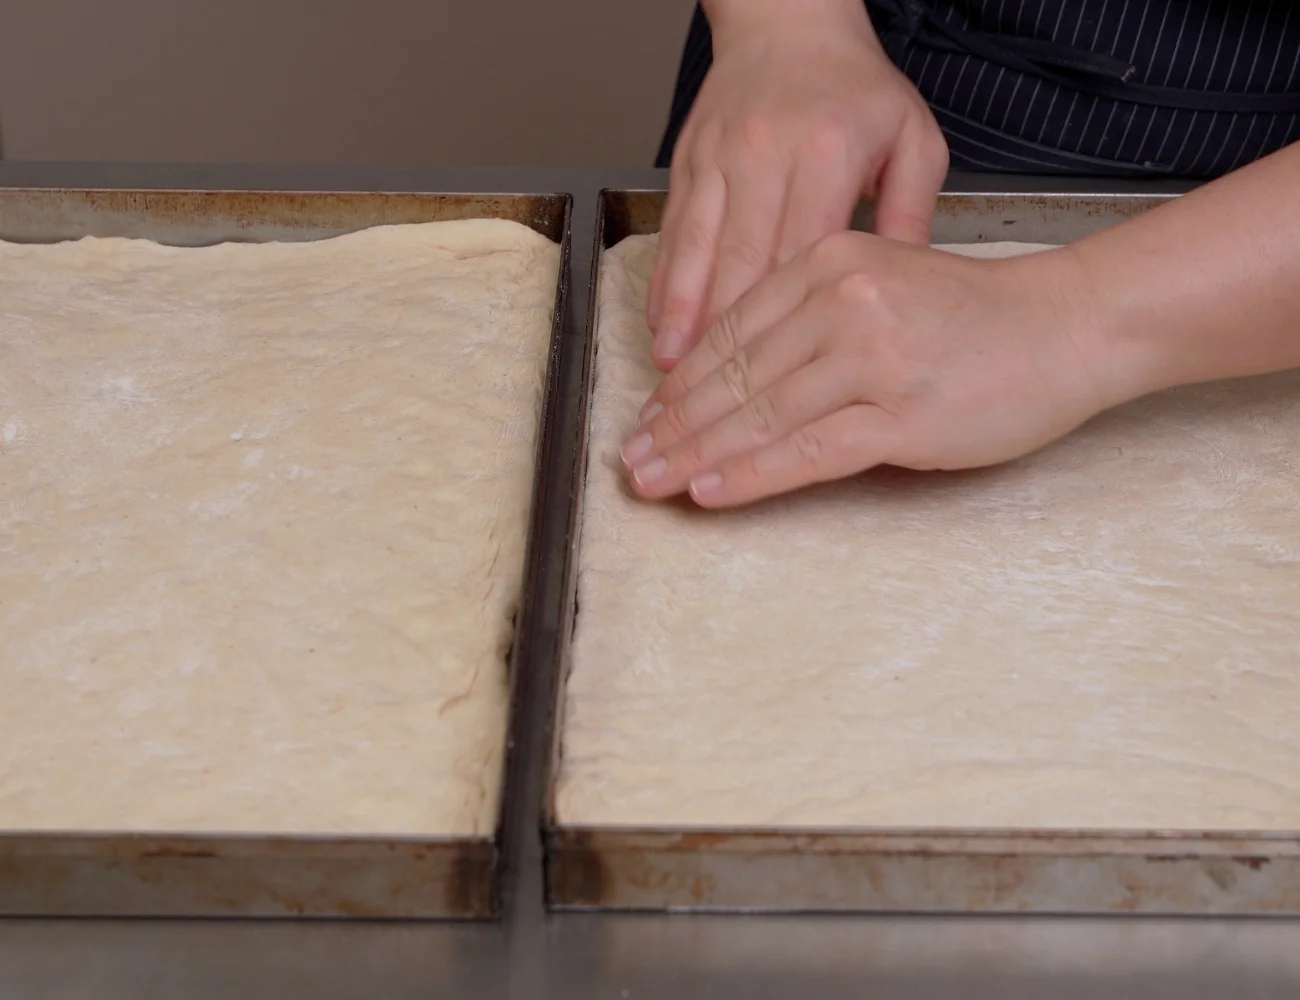
Transfer the stretched dough to the baking trays, pulling as needed to reach the sides.

3rd Dough Rest (30 Minutes)
Cover and let the dough rest in the baking trays for another 30 minutes. This will allow the dough to proof enough so that you can stretch the dough to the very ends of the baking tray.
1st Dough Proof (1 Hour)
Cover both trays and proof the dough for another hour.
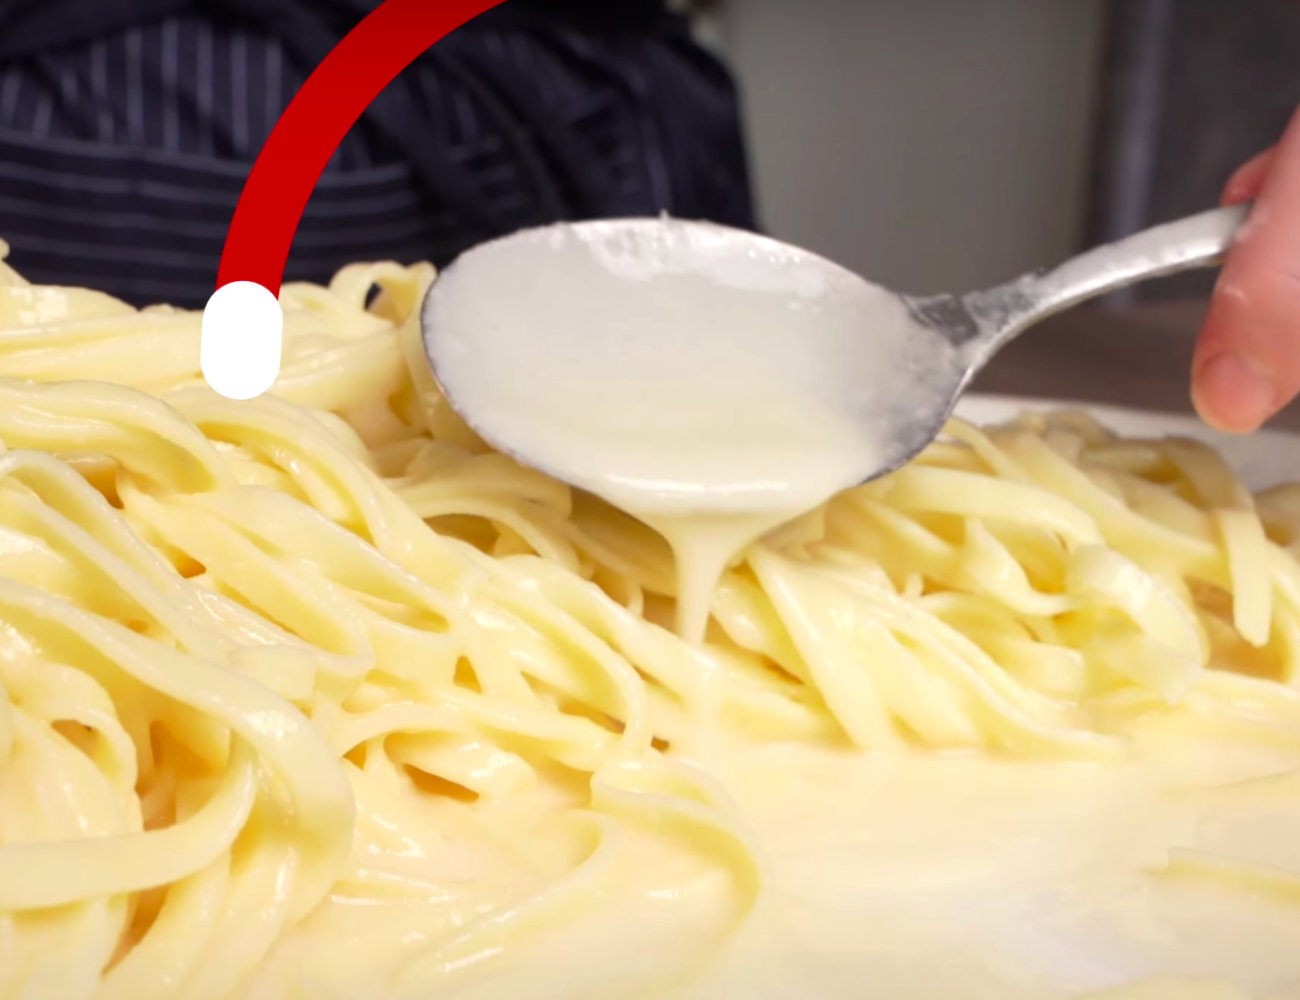
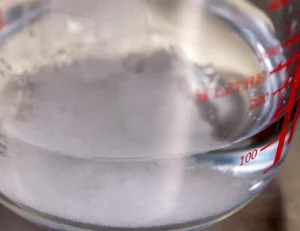
Flour, Indent, Oil, Brine
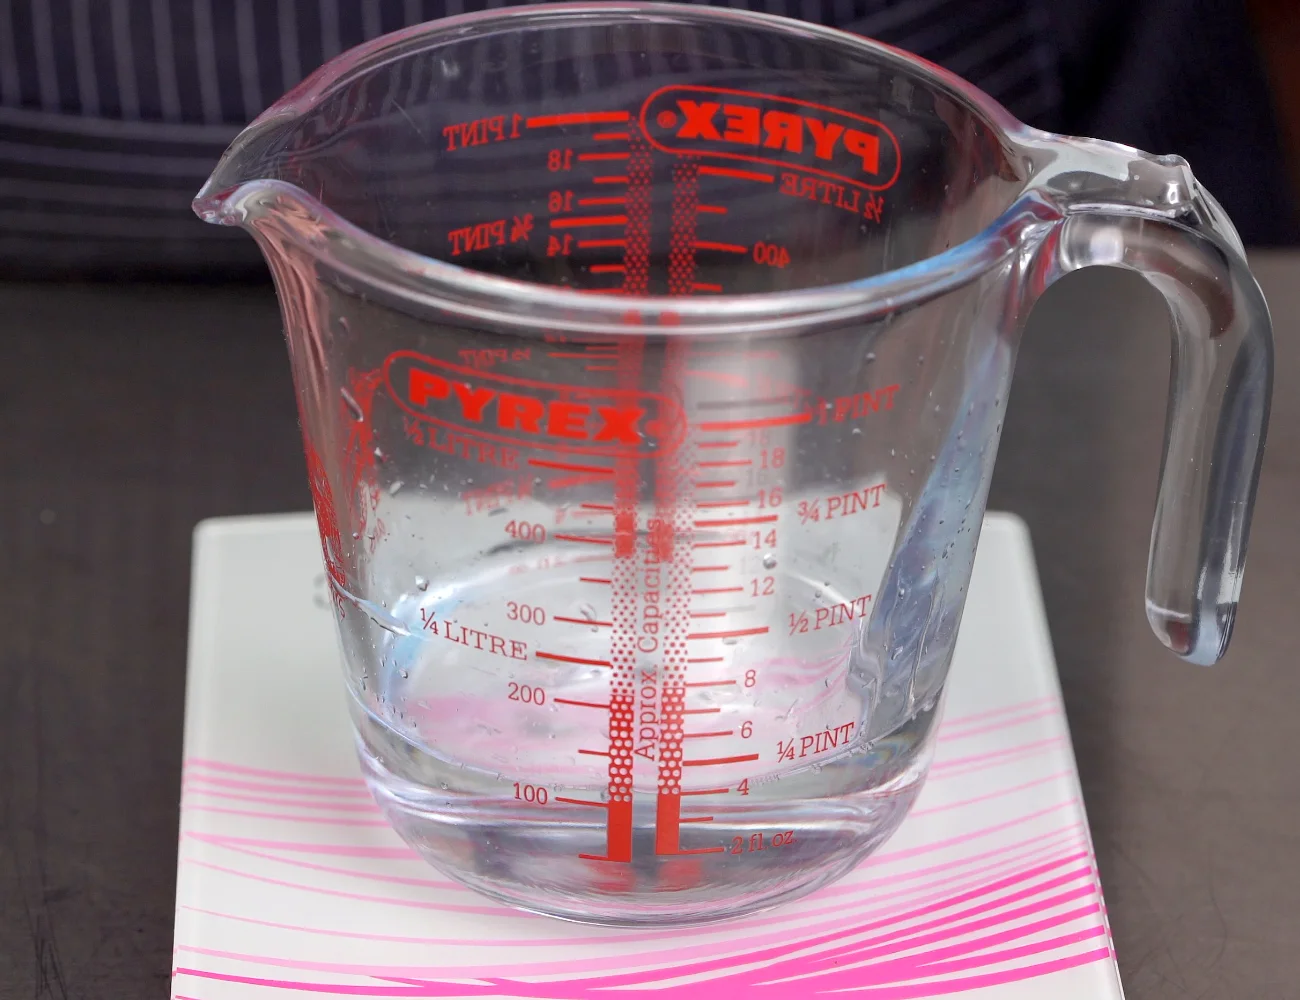
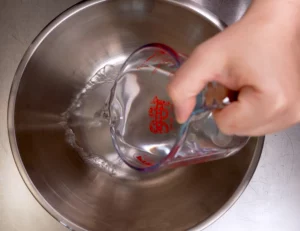
Dissolve 1 tsp (5 g) of fine salt in just shy of 1/2 cup (100 ml) of water. This is the brine for the focaccia.

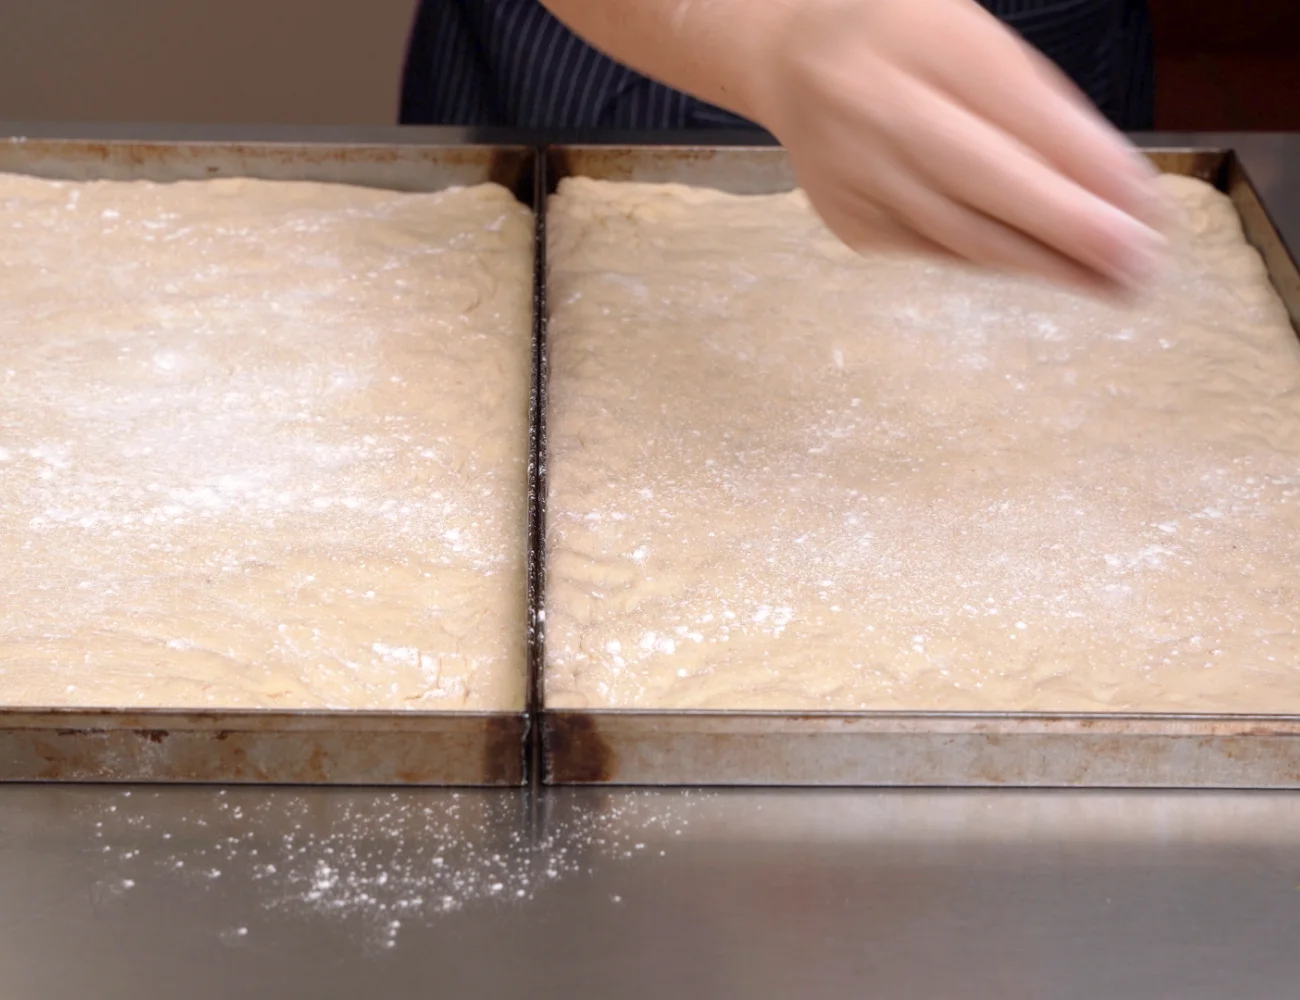
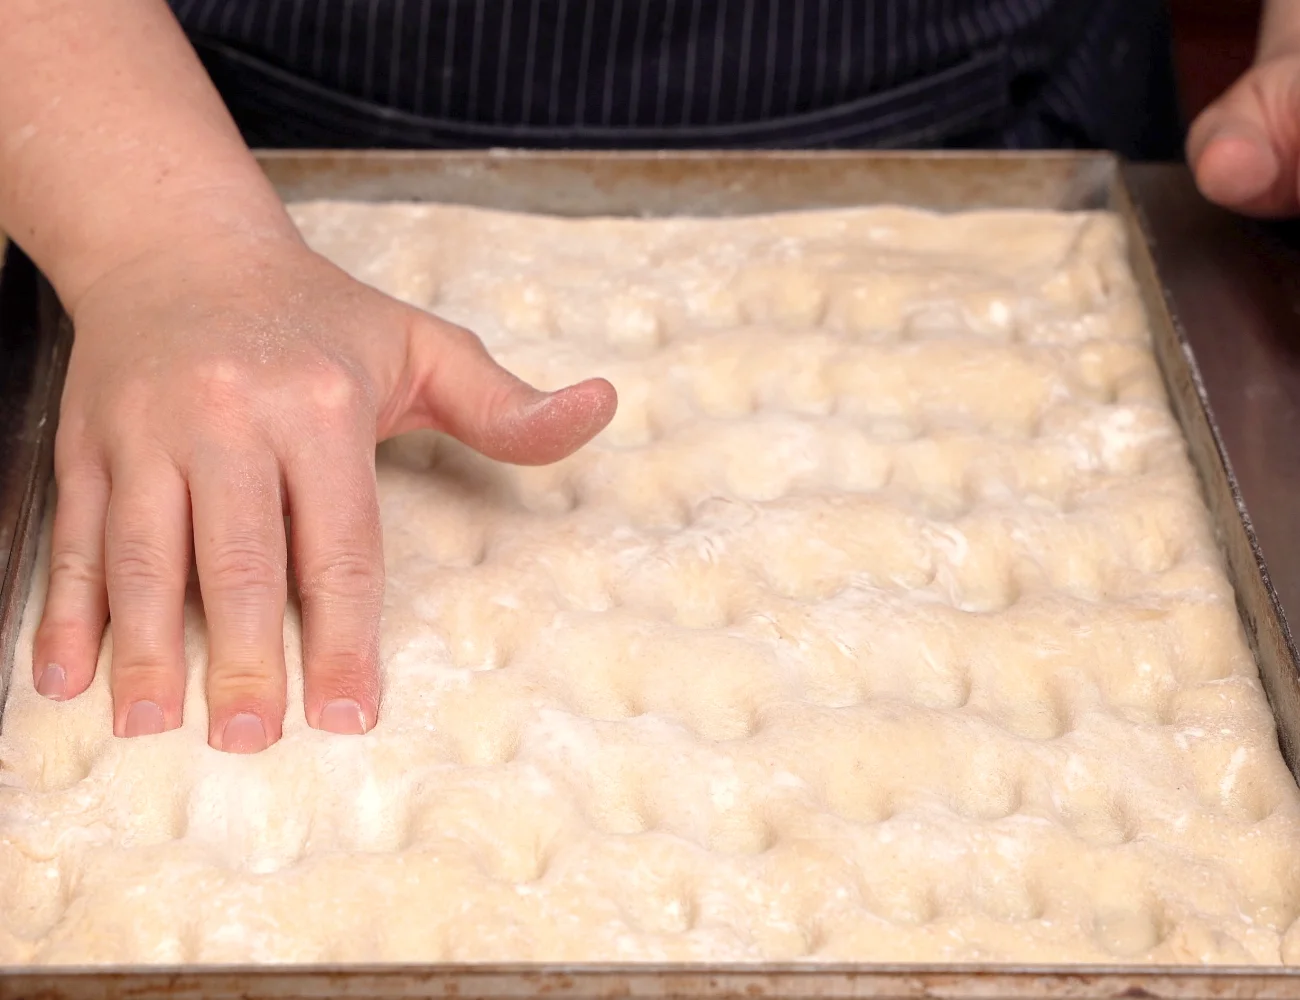
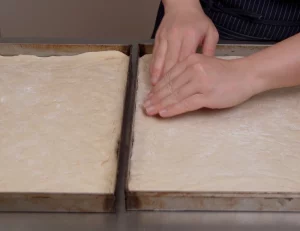
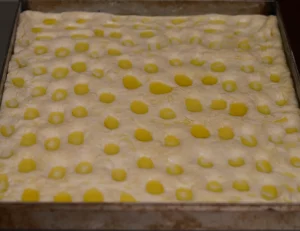
Flour and Indents
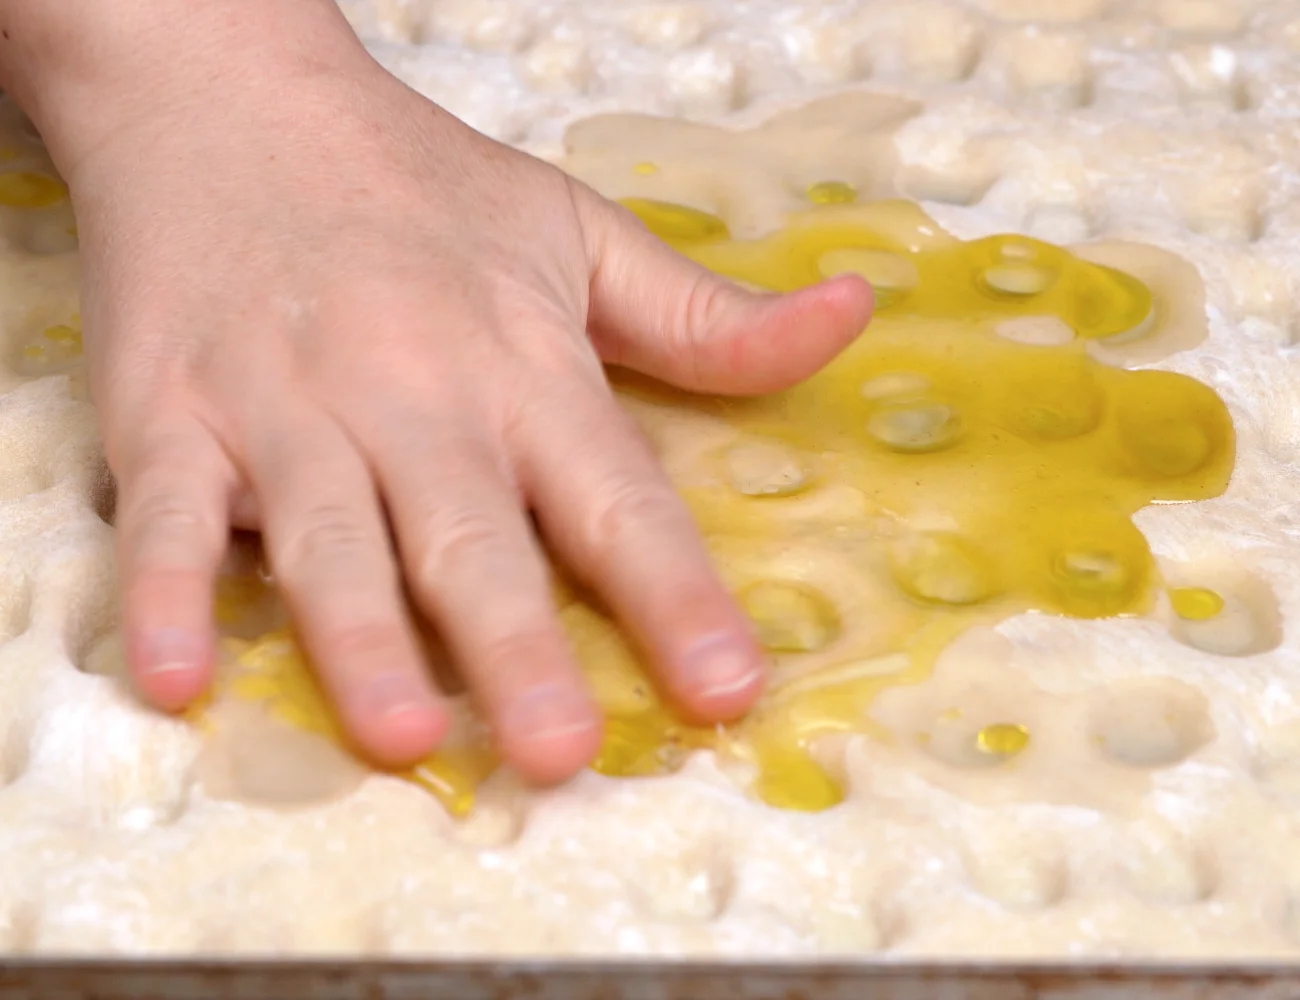
Using 8 fingers along the width of the tray, make indents in the focaccia dough. Push down and slightly out, applying some pressure.

Use one hand to add indents to the rest of the width of the dough:
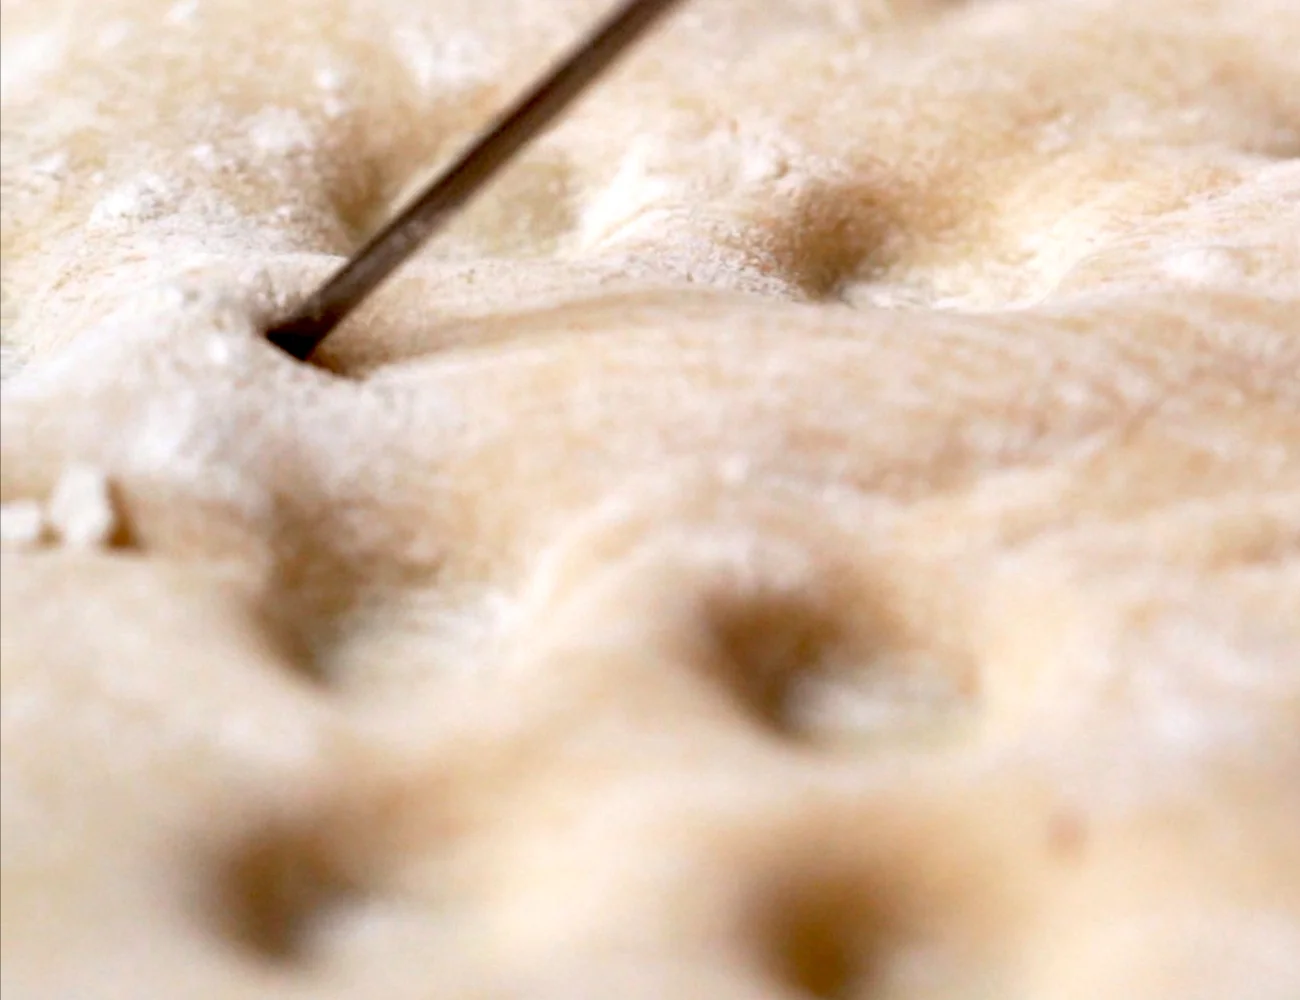
Use a thin cake tester, toothpick or sewing needle to prick any extremely large bubbles. We don’t want those bubbles growing larger than the rest in the oven—they will burn!
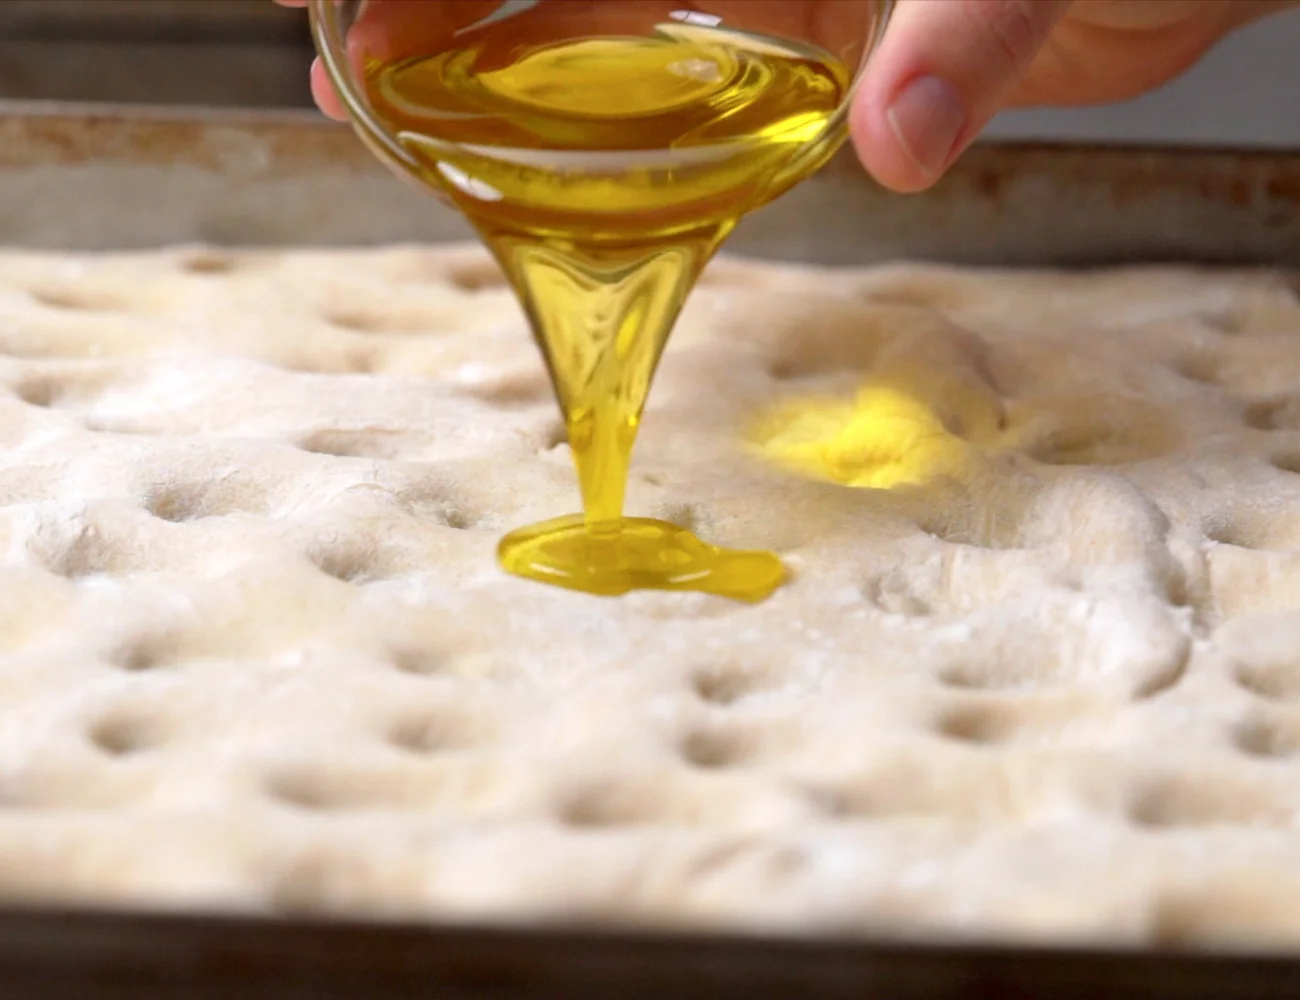
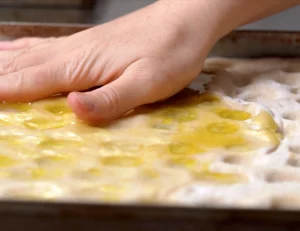
Add Olive Oil to the Surface
Pour 2.5 tbsp (30 g) of olive oil in the center of each tray of focaccia.
Add Brine to the Surface
Add half (about 50 ml) of brine to the center of each tray focaccia over the oil.
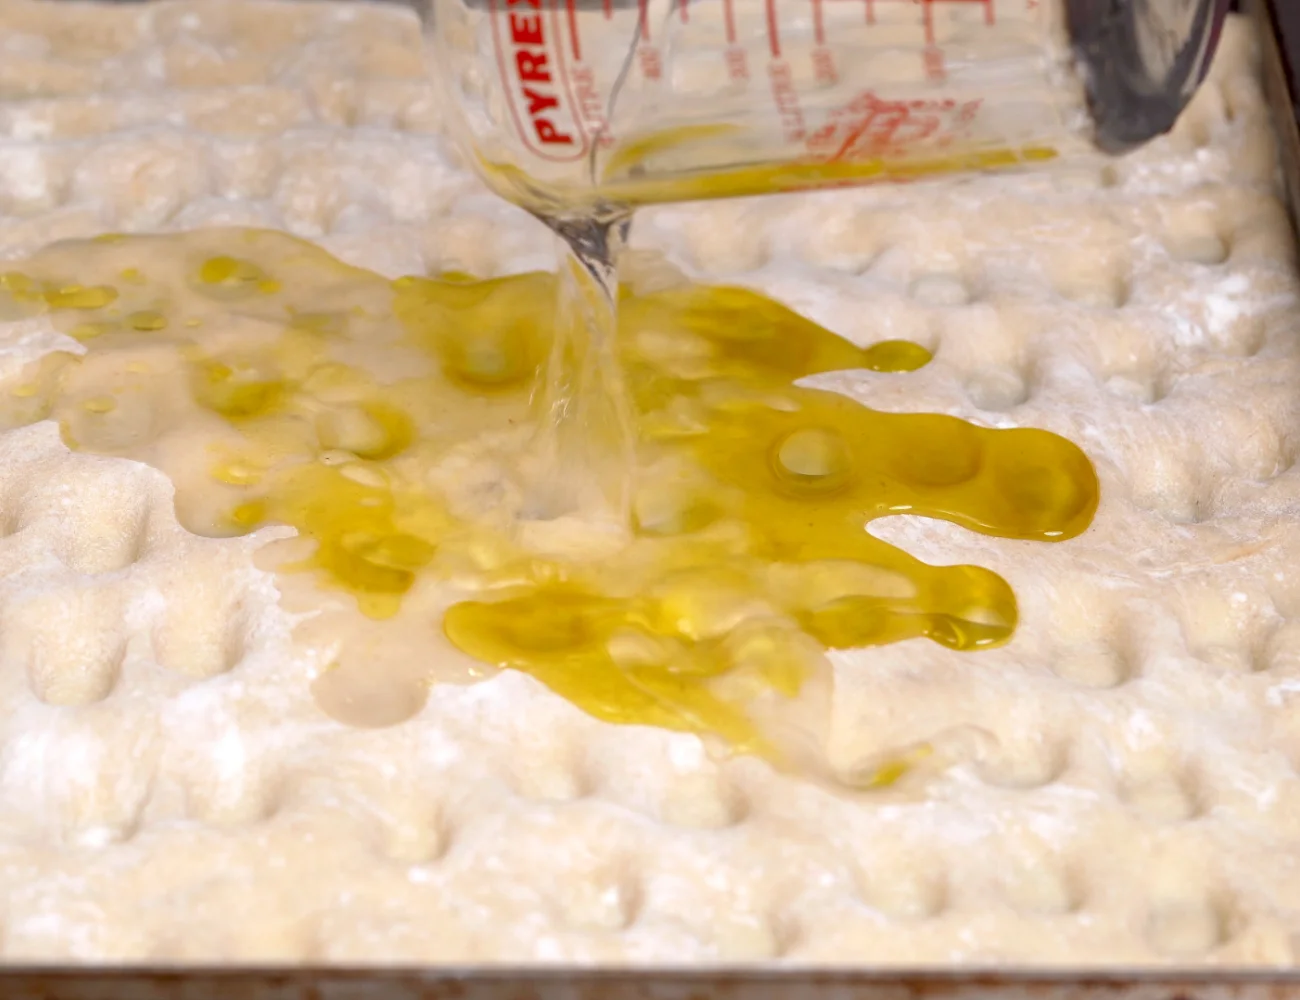
Spread the oil and salt water over the entire surface of the focaccia:

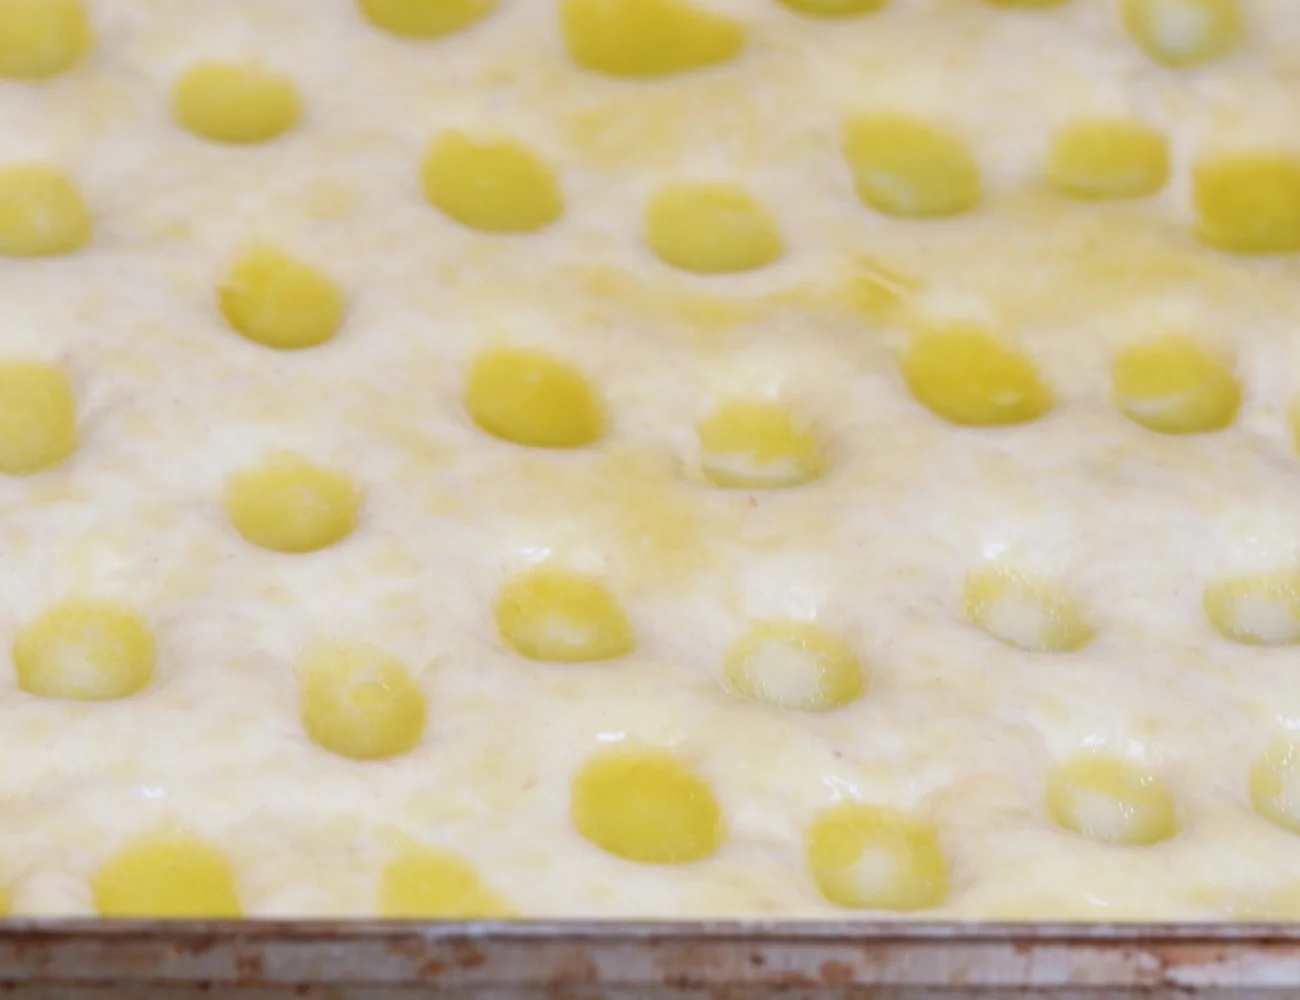
2nd Dough Proof (45 Minutes)
Proof the trays of focaccia bread uncovered for 45 minutes.
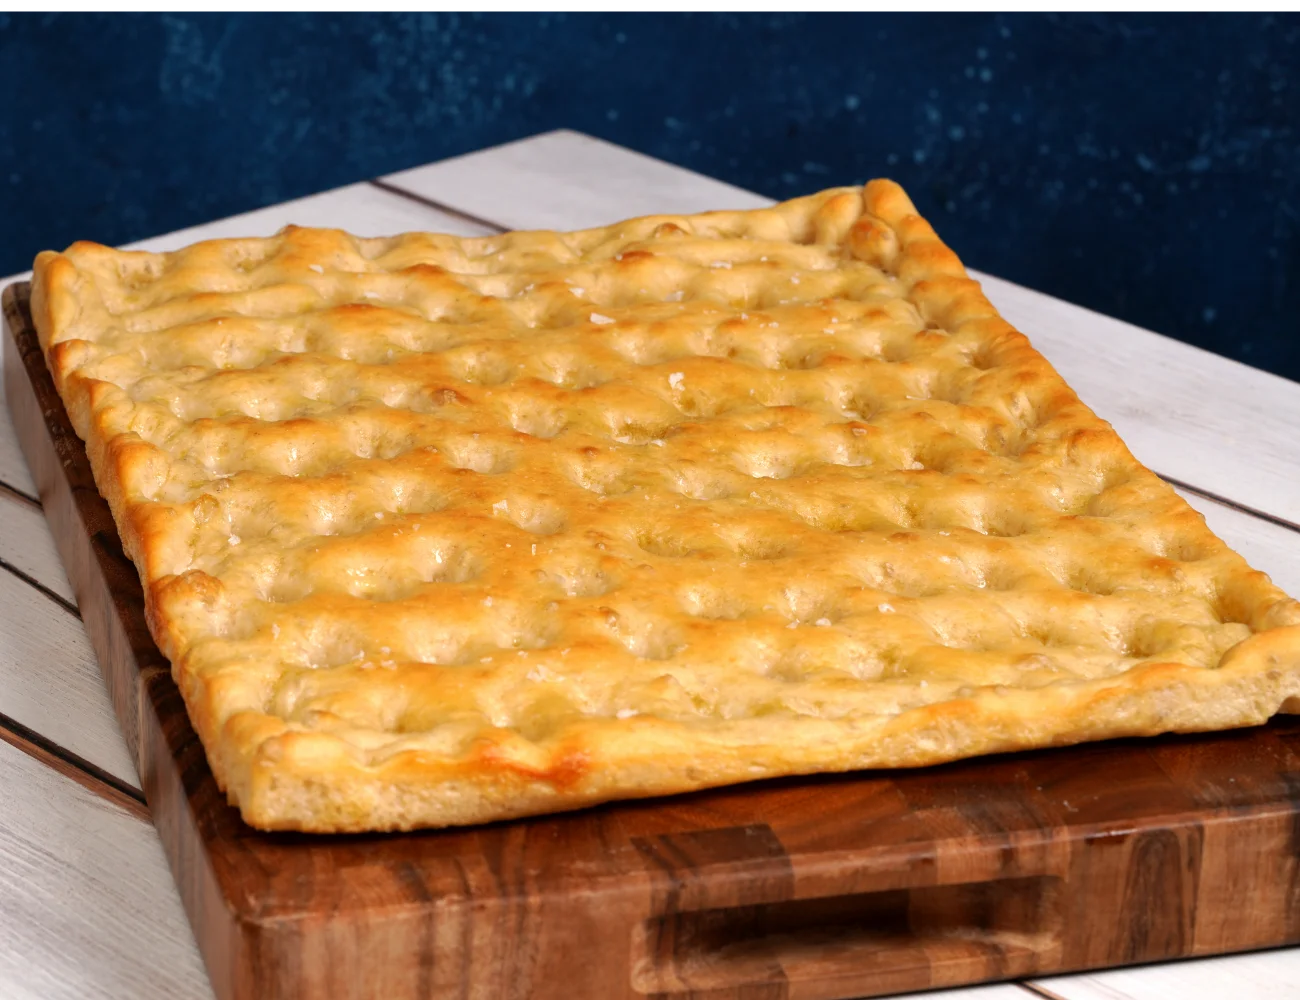
Bake the Focaccia Bread
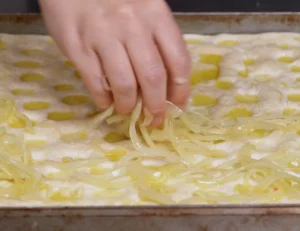
Add any toppings you enjoy. Thinly sliced onions and/or olives are traditional toppings. However, Focaccia Genovese bread is delicious plain as well!
Bake in a preheated static oven at 450° F (230° C) for 15 minutes. Never exceed the 15 minutes.
Discover More Italian Pasta Recipes!
As an Amazon Associate, we earn from qualifying purchases. This means at no extra cost to you, PIATTO may earn a small commission if you click the links and make a qualifying purchase.
Authentic Focaccia Genovese Recipe
Ingredients
Focaccia Genovese (Dough)
- 19 oz bread flour '00' Flour and W 320
- 12 oz water
- 2 tbsp olive oil extra virgin
- 1 oz lard preferably 'Lardo di Colonnata di Cinta Senese'
- 2 tsp fine salt
- ½ oz dry malt or twice this in liquid malt
- 2 tsp dry active yeast
Focaccia Genovese (Brine and Topping)
- 2 oz olive oil extra virgin
- 1 tsp fine salt for the brine
- ½ cup water for the brine
Instructions
Make the Dough
- In a large bowl: Combine the yeast and malt (if using dry malt) to the flour. You can mix the dough by hand or with a stand mixer using the paddle attachment.½ oz dry malt, 2 tsp dry active yeast, 19 oz bread flour

- Add water to a large bowl (stand mixing bowl if you plan to knead with a stand mixer).12 oz water
- Slowly add the flour and mix well.
- Add the olive oil and mix well.2 tbsp olive oil
- Add the lard (if using it) and mix well.1 oz lard
- Finally, mix in the salt. Salt can inhibit yeast, so it’s best to add it in towards the end. You can even ‘knead’ in the salt after transferring the dough to a work surface (as we’ve done here).2 tsp fine salt

Knead the Dough: 10-15 Minutes
- You can knead the Focaccia Genovese dough with your hands or a stand mixer (fitted with the dough hook). Using a stand mixer? Fit the stand mixer with the dough hook. Knead on low (‘2’ on most stand mixers) for 10 minutes. Knead until the dough ball is smooth and soft.
- Kneading by hand? Transfer the dough to a work surface. Knead the dough by hand for about 15 minutes—until the dough ball is smooth and soft. Watch the video recipe on this page to see how to knead focaccia dough!
- Let the dough rest covered for 10 minutes.Why this extra step? The dough kneaded by hand will be rougher in texture. Letting the dough rest lets the gluten in the dough relax a bit. Then finish kneading for another 3 minutes to create a smooth dough ball (as you would achieve with a stand mixer).
Stretch and Fold Dough
- Stretch the dough to dry it out a bit.
- Then immediately fold it in any way you like in order to once again create a tight ball.
1st Dough Rest: 30 Minutes
- Let the dough rest (covered with a bowl or towel) on the work surface for 30 minutes.
Split the Dough
- Split the dough in two equal parts. Each piece of dough will weigh about 500 g.
- Stretch each dough ball a bit.
- Then, roll the dough up and pinch the seam together. Place the dough balls seam-side down.

2nd Dough Rest: 30 Minutes
- Let the dough balls rest (covered) for another 30 minutes.
Stretch and Transfer to Baking Tray
- Lightly flour a work surface and the dough balls. Using a rolling pin, stretch each dough ball to roughly the size of the baking trays you are using.
- Lightly oil the baking trays.
- Transfer the stretched dough to the baking trays, pulling as needed to reach the sides. Lightly flour the surface of the dough


3rd Dough Rest (30 Minutes)
- Cover and let the dough rest in the baking trays for another 30 minutes.
- This will allow the dough to proof enough so that you can stretch the dough to the very ends of the baking tray.

1st Dough Proof (1 Hour)
- Cover both trays and proof the dough for another hour.

Flour, Indent, Oil, Brine
- Dissolve 1 tsp (5 g) of fine salt in just shy of 1/2 cup (100 ml) of water. This is the brine for the focaccia.1 tsp fine salt, ½ cup water
- Using 8 fingers along the width of the tray, make indents in the focaccia dough. Push down and slightly out, applying some pressure.
- Use one hand to add indents to the rest of the width of the dough.
- Use a thin cake tester, toothpick or sewing needle to prick any extremely large bubbles. We don’t want those bubbles growing larger than the rest in the oven—they will burn!
- Pour the olive oil in the center of each tray of focaccia.2 oz olive oil
- Add half (about 50 ml) of brine to the center of each tray focaccia over the oil.
- Spread the oil and salt water over the entire surface of the focaccia.


2nd Dough Proof (45 Minutes)
- Proof the trays of focaccia bread uncovered for 45 minutes.
Bake the Focaccia Bread
- Add any toppings you enjoy. Thinly sliced onions and/or olives are traditional toppings. However, Focaccia Genovese bread is delicious plain as well!Bake in a preheated static oven at 450° F (230° C) for 15 minutes. Bake in the bottom ⅓ of the oven. Or, bake directly on a pizza stone sitting on the floor of the oven.Never exceed the 15 minutes bake time.
- Buon appetito!
Video
Notes
- 2 trays of focaccia 40×30 cm (16″x 12″)
- or one large tray of focaccia 60×40 cm (24″ x 16″)
Where could I find the pans you are using to bake with? I like the thin wall and higher sides and can’t seem to find them anywhere. Thanks!
Original comment: View on YouTube
Alcuni preparano prima la salamoia miscelando bene acqua olio e sale . Dopodiché la versano sopra . Però una quantità ben maggiore rispetto a quanto mostrato dal video .
Original comment: View on YouTube
Perfect!
Original comment: View on YouTube
Wait, no oil to grease the underneath?
Original comment: View on YouTube
It would be helpful to get a recommendation for the flour
Original comment: View on YouTube
Hahaha! That crunch sound at the end is brilliant! We eat with our eyes AND our ears! 👏👏👏
Original comment: View on YouTube
Another fantastic recipe for something I’ve made a few times! I love the detail (strong flour – not sure I know what that means but I’ll figure it out.). I’m assuming it should NOT be self-rising flour? And lard – I don’t do lard, and I’d imagine that’s extremely important. Anyway! Thanks again!!!
Original comment: View on YouTube
Another great video! I’ve never had focaccia, but it looks super delicious.
Original comment: View on YouTube
simply awesome!
Original comment: View on YouTube
Very good delicious 😋😋
Original comment: View on YouTube
Scusate, posso impiegare la farina tipo “0” al posto della “00” ? Il risultato peggiora? Grazie
Original comment: View on YouTube
Ottima
Original comment: View on YouTube
METAVIGLIOSA!!!
Original comment: View on YouTube
perche usare una farina di forza in cosi poche ore di lievitazione e con una bassa idratazione?
Original comment: View on YouTube
Malto normale o diastasico? Grazie. 🙏
Original comment: View on YouTube
Salamoia: olio 30g per due??
Original comment: View on YouTube
Buongiorno, l’uso dello strutto non è genovese. Nel disciplinare infatti non c’è tra gli ingredienti.Dopo la prima lievitazione, quelle successive, se non sbaglio si fanno direttamente sulle teglie…, e mai sentito che si tiri con il mattarello. I buchi, si fanno in un solo verso con le dita piegate a 45 ° e non perpendicolari… Sono la firma di chi la prepara.Da genovese sono un po’ pignola e amo la tradizione
Original comment: View on YouTube
SEI MOLTO BRAVO NUOVA ISCRITTA
Original comment: View on YouTube
…adoro il lato B 😂😂 grande
Original comment: View on YouTube
Lievito madre = 10 x lievito fresco, giusto? Nel video è riportato 100 x lievito fresco, un pò troppo credo.
Original comment: View on YouTube
Complimenti super questa focaccia😊😊🔝🔝volevo chiederti, la farina w320 quante proteine dovrebbe avere? Grazie mille 😊
Original comment: View on YouTube
Unica persona sincero .bravo ❤❤❤❤❤grazie
Original comment: View on YouTube
Ciao scusa malto da dove dobbiamo a comprare ?grazie ❤
Original comment: View on YouTube
semplicemente il miglior canale di cucina su youtube italia ❤
Original comment: View on YouTube
Madre mia, questo modo in cui lo fai ti farà morire di fame ! 😵
Original comment: View on YouTube
1kg e 200 di lievito madre? Mi sembra strano..
Original comment: View on YouTube
Complimenti davvero per la ricetta, ieri l’ho fatta per la 2° volta portando la temperatura del forno a 245°C e alzando la teglia rispetto alla pietra, la prima volta come cottura non mi ha soddisfatto al 100%. Al 2° tentativo cottura perfetta, croccante all’esterno e morbida all’interno con il fondo dei buchi con quel leggero impasto morbido e bello ricco di olio….Risultato eccellente. Grazie per aver condiviso la sua esperienza!
Original comment: View on YouTube
Perché mi ritrovo questi video meravigliosi quando sono a dieta con pochi carboidratiiiiiii😭😭😭
Original comment: View on YouTube
buongiorno…con cosa sostitire lo strutto?
Original comment: View on YouTube
Ciao posso sostituire o integrare alla Manitoba una caputo rossa??
Original comment: View on YouTube
Complimenti. Domanda : parli di tempi di riposo a 22 gradi ma se ora in casa ne ho 26/28 c’è qualche formula o trucco per sapere di quanto diminuire i tempi ?. Grazie
Original comment: View on YouTube
Perfavore come si fa la SALSA romesco
Original comment: View on YouTube
Encore une super recette! ❤ mais il n’y a pas les sous titre en Français 😢
Original comment: View on YouTube
Che dire? Number one! Proveremo a fare anche questa meraviglia. Ieri sera abbiamo rifatto lo spaghetto a vongole con i tuoi suggerimenti. Sughetto legato, spettacolare e cremosissimo. Grazie mille come sempre.💪😉👍
Original comment: View on YouTube
Mamma mia! Solo a guardarla viene l’acquolina in bocca la rifarò senz’altro sicura che non avrò problemi è spiegata benissimo grazie e ciao alla prossima
Original comment: View on YouTube
Fantastica, scusate dove posso trovare il lardo sciolto?
Original comment: View on YouTube
Che tipo di malt? C’è ne sono due, diastatic e non-diastatic.
Original comment: View on YouTube
Eccezionale anche per una bella merenda
Original comment: View on YouTube
Bellissime!!!! Proverò la ricetta al più presto . Grazie !
Original comment: View on YouTube