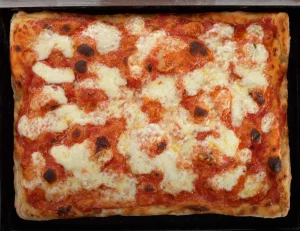
An EASY and FAST homemade pan pizza just as many families make it in Italy! This homemade pizza dough is digestible, delicious and ready in about 4 hours. Sometimes called ‘sheet pan pizza’ (in italian “pizza alla teglia”), this pan pizza is the most popular in homes throughout Italy. Got a KitchenAid stand mixer? This is an ideal stand mixer pizza dough recipe! In this guide, you’ll learn how to…
- make homemade pizza dough that is highly digestible in just 3-4 hours
- make pizza dough with a stand mixer (here, a KitchenAid stand mixer)
- stretch pizza dough for a sheet pan pizza
- bake a delicious pan pizza in a conventional home oven
Watch the Video Recipe!
Learn how to make a homemade pan pizza to DIE FOR! This homemade pizza dough can be ready for baking in about 3 hours. We’ll show you how to bake it as a classic ‘Pizza Margherita’ and as a ‘boscaiola’ (woods) pizza with sausage and mushrooms in this video:
Watch more PIATTO Pizza Making Videos!
Subscribe to our YouTube Channel
More video recipes? Subscribe to our YouTube Channel (it’s FREE) and click the bell to get notifications when we release a new video recipe!
What Flour to Use
Choose a ‘strong’ flour to make this pizza dough. The flour package should say that the ‘W’ is 260-280. You can also just select a flour that says it is made for pizzas, however sometimes these so-called pizza flours can be hard to digest.
To learn more about what the ‘W’ means on the flour package, keep reading till the end of this article!
We use ‘Caputo Nuvola’!
We Caputo Nuvola for this pizza dough recipe! It is a…
- Flour ‘0 ‘
- with a W 260-280
Used in pizzerias throughout Italy, this flour is thankfully available on Amazon! It’s perfect for soft digestible pizza, and it is the product shown in our video recipe!
You can find Caputo Nuvola on Amazon (affiliate link): https://amzn.to/3KtEcYV
Perfect Stand Mixer Pizza Dough Recipe!
Ultimately, any pizza dough recipe can be made (mixed and kneaded) with a reasonably powerful stand mixer. You can even use a stand mixer to mix and knead high-hydration pizza dough recipes.
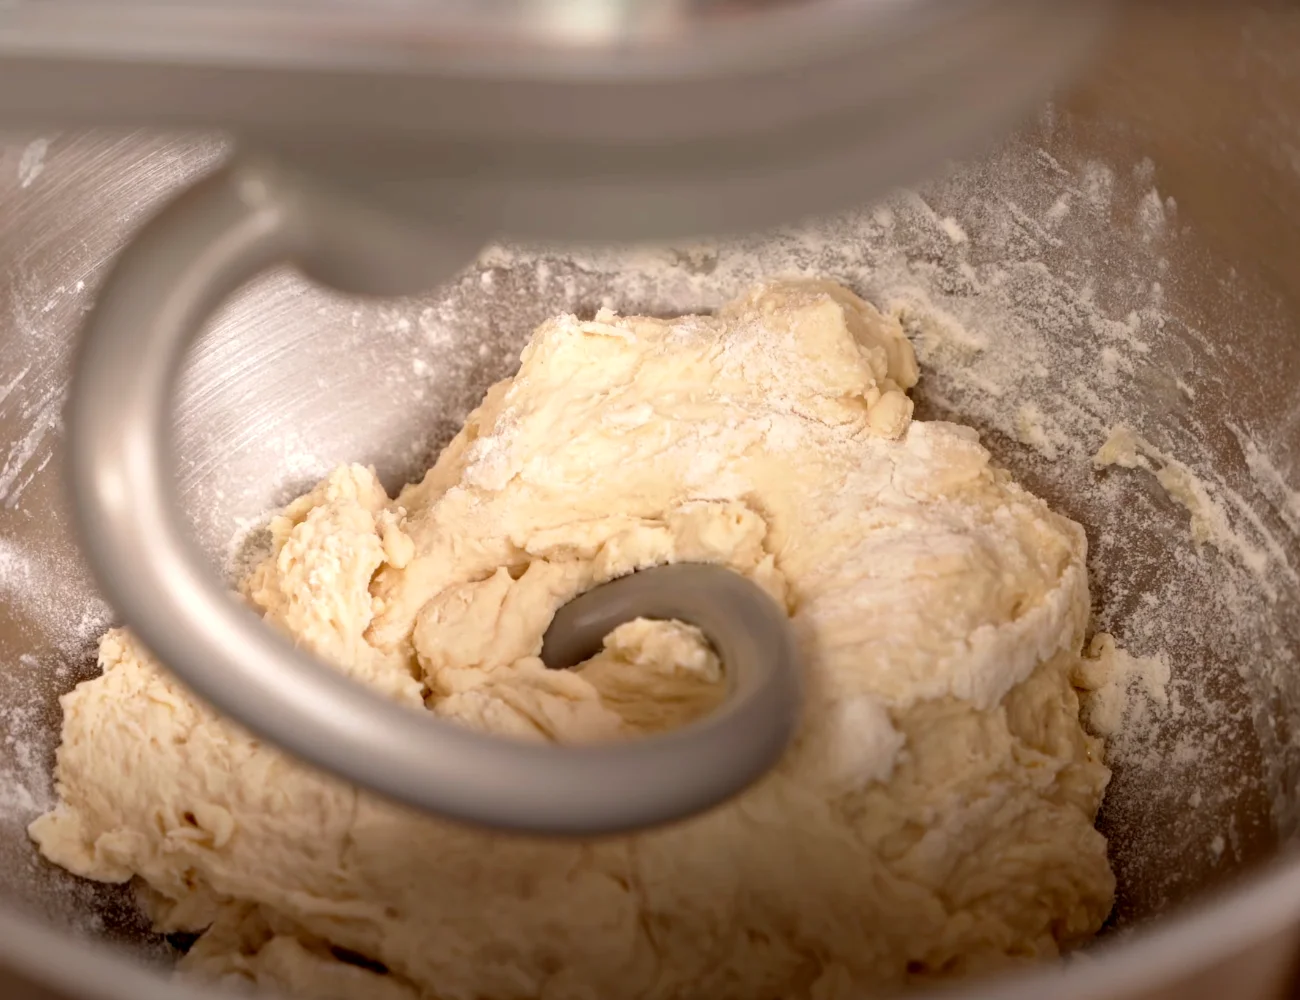
However, we almost always use our KitchenAid Stand Mixer for mixing and kneading this pizza dough. And, we’ve shown that process in the video and recipe photos to help those of you who want to follow along with your stand mixer!
How to Choose Flour for Pizza Dough
Gluten Matters
Gluten is a hydrophobic protein (it does not dissolve in water) which derives from the union of the two most abundant proteins in flour: glutenin and gliadin.
Flour Strength – ‘W’
Flour ‘strength’ is expressed with the letter “W” on the flour package.
This gives us a clear idea of how our dough will behave during and after rising. The strength is measured by the manufacturers through a laboratory device called Chopin’s alveograph and is directly proportional to the amount of gluten in the dough.
By definition, flours with…
- W between 180-260 are medium strength flours
- W below 180? The flour is weak.
- Above 260? The flour is strong.
Choosing Flour for Pizza Dough
In general, you want to choose your flour based on the amount of hydration of the dough and the rising time. The higher the water content and / or the time you will let the dough rise, the higher the W of the flour must be.
However, with this pizza dough recipe, you don’t need to work out these details 🙂
Active Yeast, Instant Yeast, Fast Rise Yeast: What’s the Difference?
- Dry Active Yeast: You must first dissolve dry active yeast in warm water (around 110-115°F/43-46°C) before adding it to a recipe, a process we call proofing or blooming. It contains larger, dehydrated yeast cells and takes longer to ferment than other types of yeast. This longer fermentation period gives breads a distinctive flavor and texture.
- Instant (or Rapid-Rise) Yeast: Instant yeast, also known as rapid-rise or quick-rise yeast, comes in smaller, more finely granulated form that you can add directly into your dry ingredients without dissolving it in water first. It starts working faster than active dry yeast and is a popular choice for recipes that require a fast rise, such as cinnamon rolls or pizza dough. However, because of the shorter fermentation period, breads made with this yeast usually have a less yeasty flavor.
- Fast-Rise Yeast: Fast-rise yeast, essentially another name for instant yeast, is designed to make bread dough rise faster and higher. You can mix it directly with the dry ingredients without needing to dissolve it first. This yeast is excellent for bread machines due to its rapid rising properties.
When substituting one type of yeast for another in a recipe, remember to adjust the quantity to account for their different rising properties. As a general rule of thumb, if you’re substituting active dry yeast with instant yeast, use about 25% less instant yeast than the recipe’s specified amount of active dry yeast.
This recipe recommends using instant yeast.
Tips for Baking Pizza
We always use a baking stone (affiliate link) for baking our high hydration pizzas—for baking all pizzas in fact! We also bake our breads—such as this high hydration focaccia recipe—on a baking stone. Pizzas in Italy are typically baked in wood fired ovens that can reach much higher temperatures than a conventional oven.
To bake at the highest temperature in a conventional oven, we place our baking stone directly on the floor of our oven. We then place our high hydration pizza (or whatever pizza we are baking) in the pan directly on the pizza stone (see below). This enables us to create a fast and even bake.
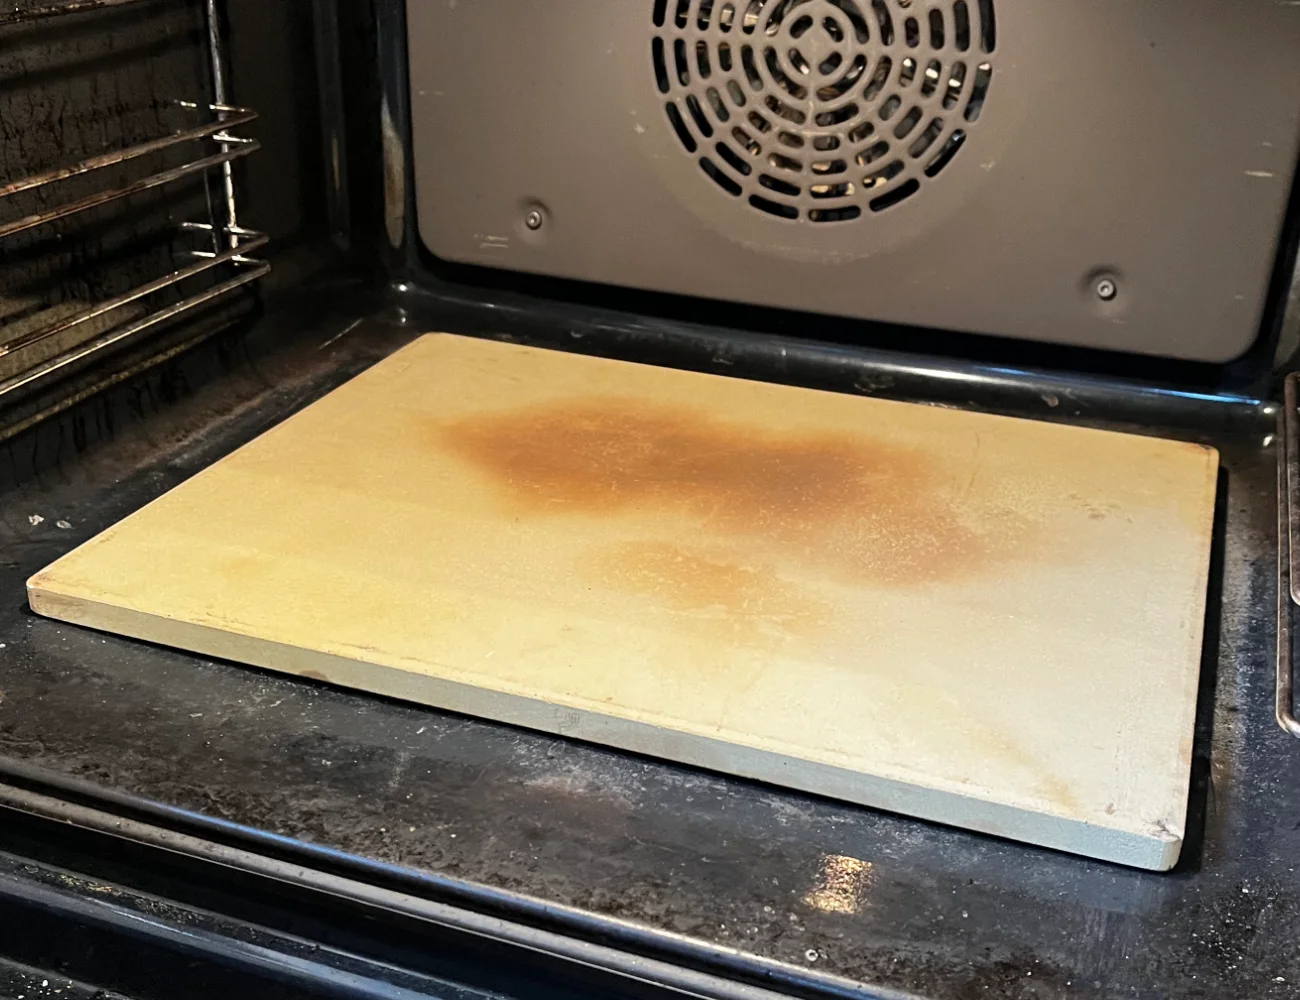
Won’t this warp the baking tray? Only if you are using a cheap baking tray 🙂 Unfortunately, there are no products on Amazon that we found suitable for the job. Our baking trays are ‘blue iron’ (ferro blu). We purchased our trays from this Italian company. The company is not sponsoring us in any way. We are just sharing this information to assist you.
Why do we like these trays? These blue iron trays provide an incredibly even bake, are solid at high temperatures and have straight edges with cross in the center to prevent warping.
As an Amazon Associate, we earn from qualifying purchases. This means at no extra cost to you, PIATTO may earn a small commission if you click the links and make a qualifying purchase.
How to Make Quick Pan Pizza in 3 Hours | Stand Mixer Pizza Dough Recipe
Equipment
- 1 baking stone optional
- 2 baking trays Here? Rectangular 16 x 12 in or 40 x 30 cm trays
- 1 stand mixer optional (for mixing and kneading the dough)
Ingredients
- 9 cups bread or pizza flour 9 cups = 2.2 lbs; Choose a flour with a 'W' of 280-320
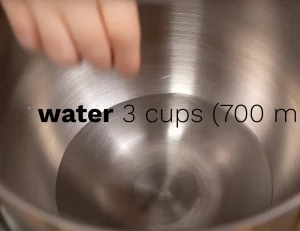
- 3 cups water
- 1 tsp dry instant or 'fast rise' yeast 1 tsp dry yeast = 6 grams of fresh yeast
- 4 tsp fine salt
Instructions
Make the Pizza Dough
- Combine the yeast with the water. You can use fresh yeast or dry instant yeast.3 cups water, 1 tsp dry instant or 'fast rise' yeast

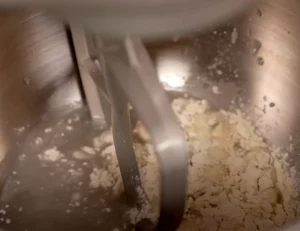
- Add these ingredients to the stand mixer bowl if using a stand mixer to prepare this dough. Fit the stand mixer with the paddle attachment.Add the flour and salt to the water and yeast.

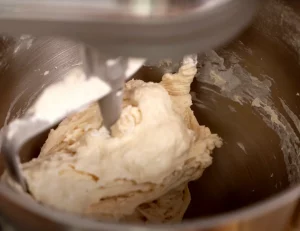
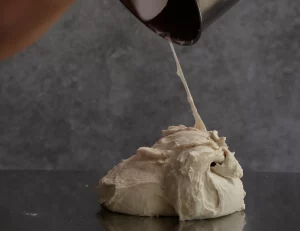
- Mix the dough with the paddle attachment until the dough forms a ball.

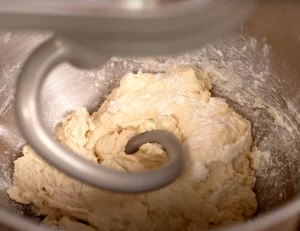
- Time to knead the dough! If using a stand mixer, replace the paddle attachment with the dough hook. Knead the dough on low speed for about 10 minutes.

Easy Folds and 1st Dough Proof
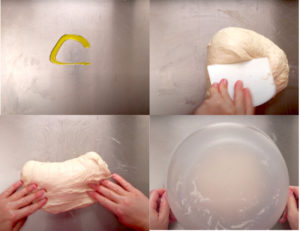
- Transfer to the dough to a lightly oiled work surface. Give the dough a series of book folds until the dough can no longer be folded. Let the dough rest (covered) for 10 minutes.

- Give the dough another series of book folds until the dough can no longer be folded. Let the dough rest (covered) for another 10 minutes.

- Give the dough a final series of book folds until the dough can no longer be folded. Let the dough rest (covered) for another 10 minutes.

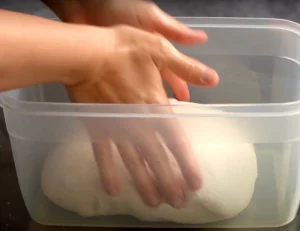
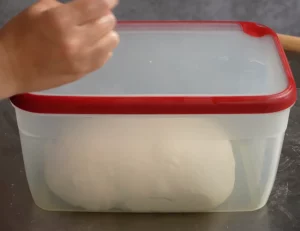
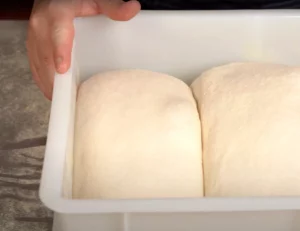
- Transfer the dough ball to a large container the same shape as the tray in which you plan to bake the pizza. So, choose a rectangular container if you plan to bake a rectangular pan pizza. The dough will be much easier to stretch to the shape of the tray if you have proofed it in more or less the same shape as your tray.

- Let the dough proof (covered) in the container for about an hour—or until it has doubled in size. The ideal proofing temperature is 82°F (28°C). To turn your oven into a proofing box, set a hot bowl of water next to your covered dough in an oven that is turned off. This will provide the dough with the ideal temperature and humidity for proofing!

2nd Dough Proof
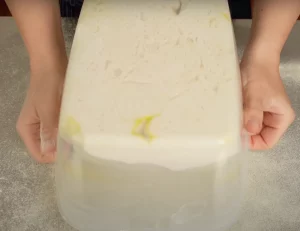
- After the first proof, transfer the dough to a lightly floured work surface. Turn the container over and let the dough gently fall out, retaining its shape.

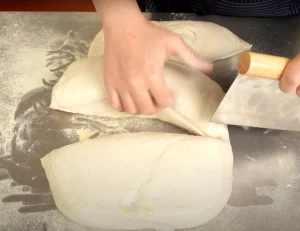
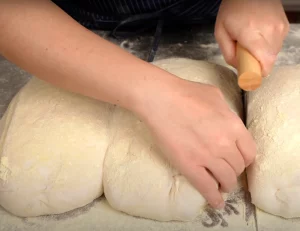
- Sprinkle the top of the dough with flour (preferably semolina flour). Divide the dough into 3 equal pieces.

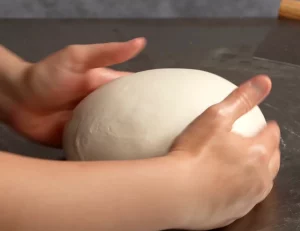
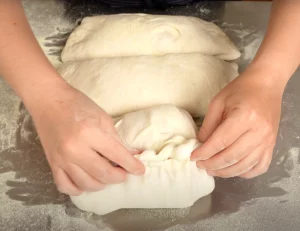
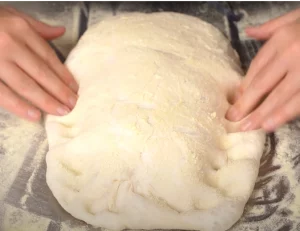
- Give each piece of dough another round of folds to trap air into the dough. Try to again give them the same basic shape as your baking tray (so, rectangular dough balls for a rectangle baking tray).

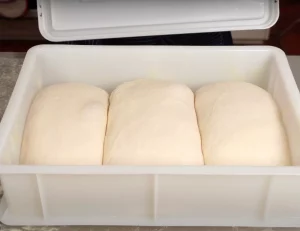
- Proof the pieces of dough (covered) for 2 more hours.

- You can transfer the dough balls to another, larger container for proofing them. Or, cover them with a damp tea towel. The container is better because it helps the dough maintain the shape you've given them as they rise.

Stretch the Pizza Dough
- Generously sprinkle your work surface with flour (preferably semolina). If needed, gently separate the dough pieces from one another.

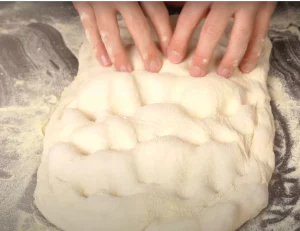
- Stretch each pizza dough to the size of the baking tray. First, press down the borders with your fingertips.

- Then use your fingertips to press down and out on the dough. Use your fingers to gently pull the sides, if needed, to enlarge the dough to the size of your baking tray.

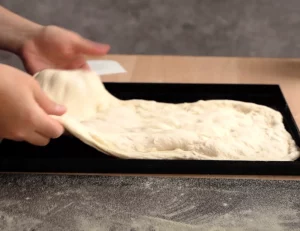
- Shake off the excess flour and transfer the stretched pizza dough to the baking tray. Use your fingertips to press or stretch gently as needed to extend the dough to the edges of the tray. If the dough won't reach the edges of the baking tray, let it rest (and rise) for 5 more minutes. This time will let the dough both relax and proof a bit longer, giving you more dough to work with. At this point, you should be able to reach the sides of the tray.

Bake the Pizzas
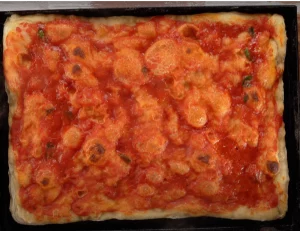
- Add any condiments to the stretched pizza dough (except cheese) and…Bake the pizza (one at a time) in a pre-heated 572°F (300°C) 'static' oven for 9 minutes. Or, bake at 500°F (250°C) for 15 minutes. You want to bake at the highest temperature that your oven will allow. Bake the pizza in the lower third of the oven. Better yet? Pre-heat the oven with a baking stone sitting on the oven floor or on the lowest rack of the oven. To bake the pizza, we set the pizza (in the baking tray) directly on the baking stone.

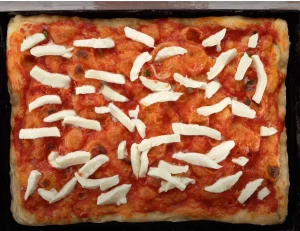
- Add any cheese and return the pizza to the oven for 3 minutes—this time on 'fan' (convection) if your oven has that setting. Finishing on 'fan' just helps the pizza crust to crisp up, if you like that texture.

- Finish the rest of the pizzas in the same way and… Buon appetito!


